
This guide walks you through everything you need to get WP SmartPay installed, configured, and ready to accept your first payment — from installing the plugin to going live with a gateway.
1. What is WP SmartPay?
WP SmartPay is a WordPress payment plugin that lets you collect one-time and recurring payments directly on your site — without building a custom WooCommerce shop. It is designed for creators, nonprofits, SaaS products, and course sellers who need a simple, fast payment experience.
Common use cases:
Donation forms for nonprofits and fundraisers
Digital product and file sales
Recurring membership or subscription billing
Course and LMS enrollment fees
SaaS and software license payments
Event ticket sales and registrations
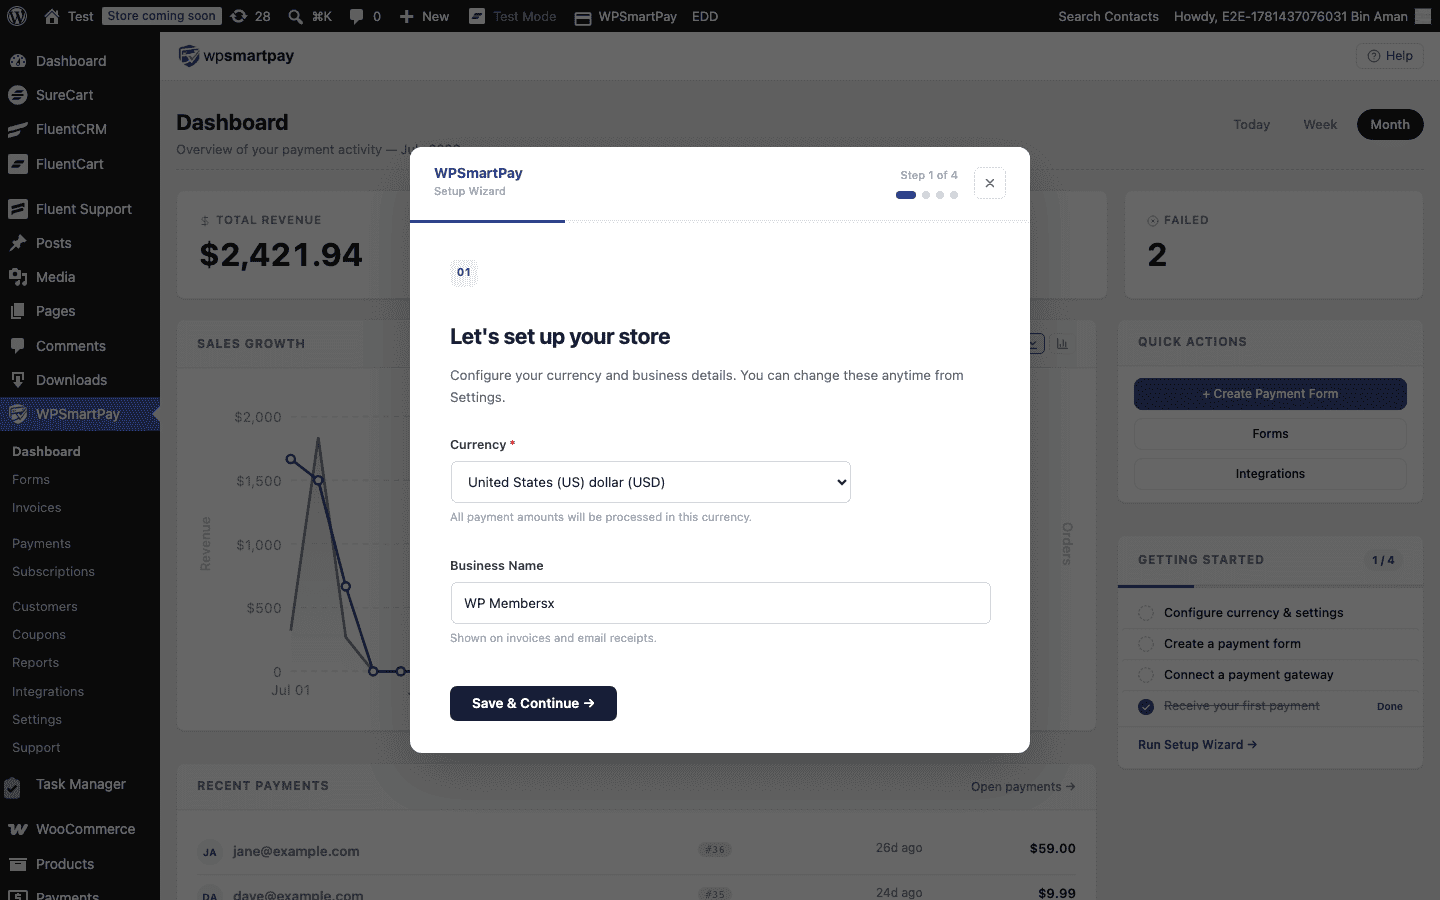
Free vs Pro
Feature | Free | Pro |
|---|---|---|
Payment forms (unlimited) | ✓ | ✓ |
PayPal Standard gateway | ✓ | ✓ |
Stripe, Paddle, Razorpay, Mollie & more | — | ✓ |
Subscription & recurring billing | — | ✓ |
Invoices (auto-generated PDF) | — | ✓ |
Coupons & discount codes | — | ✓ |
Email marketing integrations | — | ✓ |
Automation (Zapier, Make, n8n) | — | ✓ |
Form templates library | — | ✓ |
Priority support | — | ✓ |
2. Requirements & Compatibility
Before installing, confirm your hosting environment meets these minimum requirements:
WordPress: 6.4 or newer
PHP: 8.2 or newer
MySQL: 5.7+ or MariaDB 10.3+
HTTPS: Required to accept live payments. Most modern hosting includes a free SSL certificate via Let's Encrypt.
WP SmartPay free plugin: Required if you are using Pro — the free plugin must be active before activating Pro.
Note: Test mode does not require HTTPS. You can develop and test locally without SSL.
3. Installing the Free Plugin
Install WP SmartPay from the WordPress plugin directory in a few clicks:
In your WordPress admin, go to Plugins → Add New Plugin.
Search for WP SmartPay.
Click Install Now next to the WP SmartPay result, then click Activate.
On first activation the plugin automatically:
Creates the required database tables (payments, customers, subscriptions)
Adds a SmartPay menu to your WP admin sidebar
Sets default payment settings (USD, test mode on)
Tip: You can also install via ZIP. Download the free plugin from wordpress.org, then go to Plugins → Add New → Upload Plugin.
4. Installing & Activating Pro
WP SmartPay Pro is a separate plugin that extends the free version. The free plugin must be installed and active before activating Pro.
Log in to your WP SmartPay account and download the Pro plugin ZIP file.
In WordPress admin, go to Plugins → Add New → Upload Plugin.
Select the downloaded ZIP file and click Install Now, then Activate Plugin.
Go to SmartPay → Settings → License.
Paste your license key and click Activate License.
Once your license is active you will see all Pro features unlocked: Subscriptions, Invoices, Coupons, Pro gateways, and Integrations.
License Expiry
An expired license does not disable Pro features — your site continues to work. However, you will not receive plugin updates or support until you renew. You can renew from your account dashboard.
5. Quick Start: Accept Your First Payment
Follow these steps to go from a fresh install to a working payment form in under 10 minutes.
Step 1 — Enable a Payment Gateway
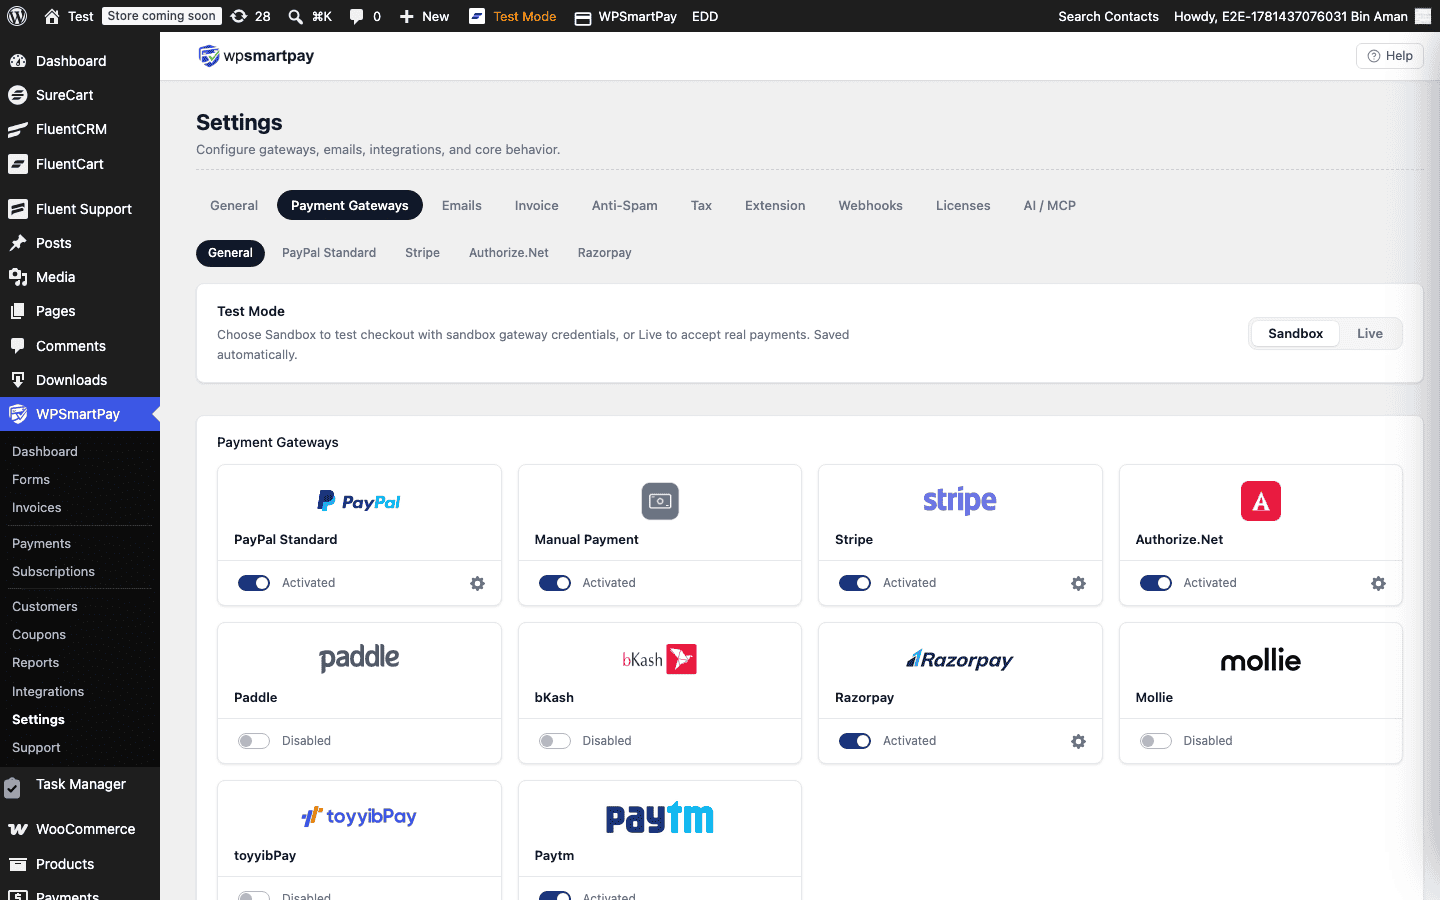
Go to SmartPay → Settings → Payment Gateways. Enable the gateway you want to use.
Test Payment — always available, no credentials needed. Good for initial testing.
PayPal Standard — included in the free plugin. Enter your PayPal email to activate.
Stripe (Pro) — requires WP SmartPay Pro. Toggle it on, then enter your Publishable Key and Secret Key from your Stripe dashboard and click Save Settings.
Test mode: At the top of the Gateways page there is a Test Mode toggle. Keep it on while setting up. Stripe provides test card numbers (e.g. 4242 4242 4242 4242) that work in test mode without charging anyone.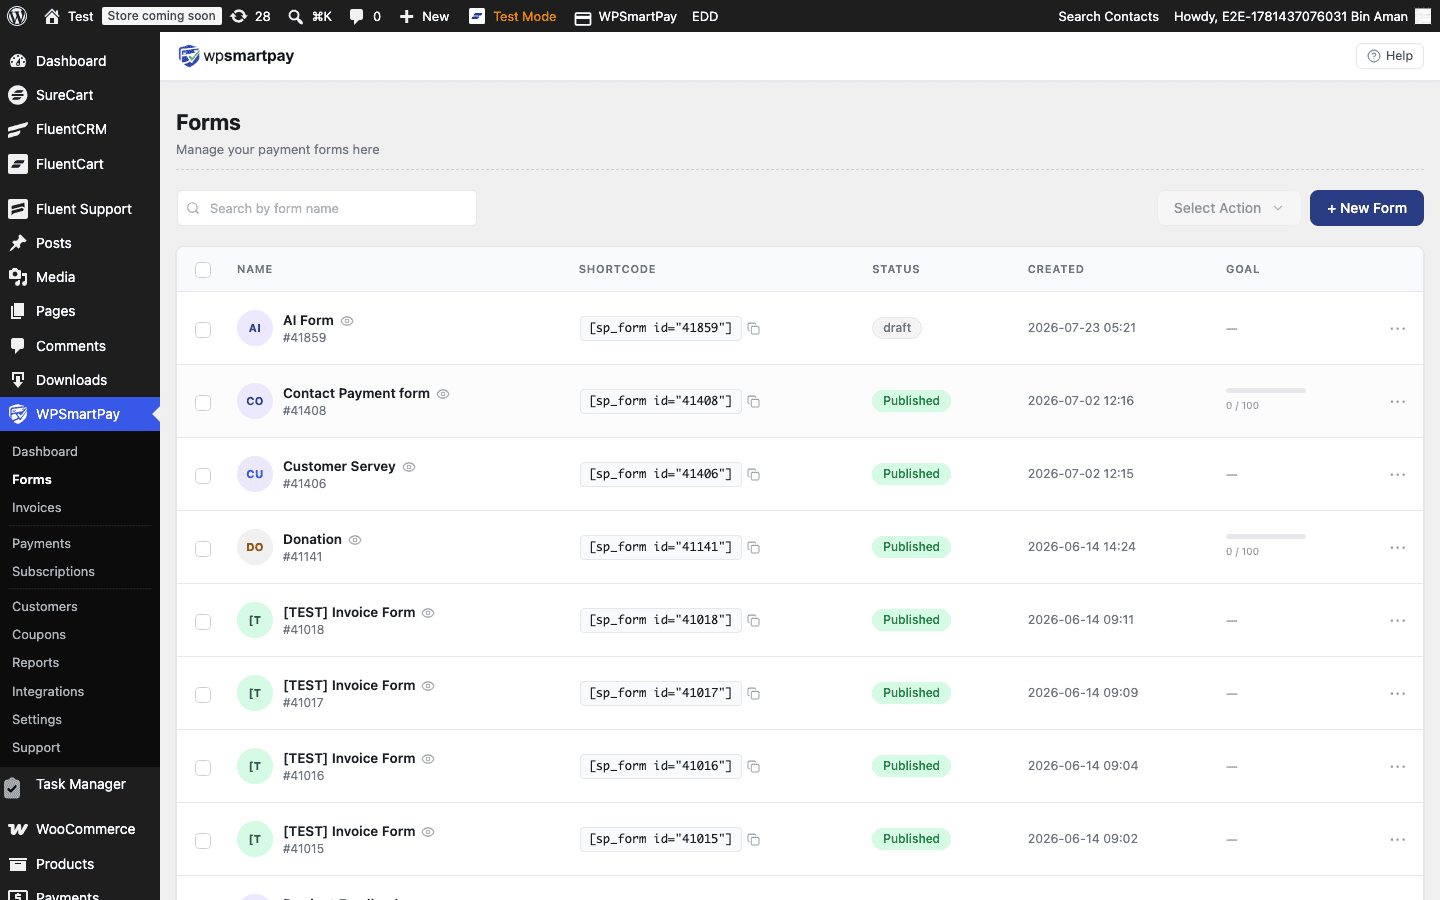
Step 2 — Create a Payment Form
Go to SmartPay → Forms → Add New.
Choose a template or start with a blank form.
Set the form title (e.g. "Donate Now" or "Buy Access").
In the Pricing panel on the right, set the amount — either a fixed price or allow the visitor to enter their own amount.
In the Payment panel, confirm the correct gateway is selected.
Click Publish to save the form.
Step 3 — Embed the Form on a Page
After saving your form, copy its shortcode from the form list (e.g. [smartpay_form id="1"]).
Open any WordPress page in the editor.
Add a Shortcode block and paste the shortcode.
Alternatively, use the WP SmartPay Form Gutenberg block to select the form from a dropdown.
Publish or update the page.
Step 4 — Test the Payment
Visit the page in a browser.
Fill in the checkout form using a test email address.
If using Stripe, enter card number
4242 4242 4242 4242, any future expiry, and any CVC.Click the pay button.
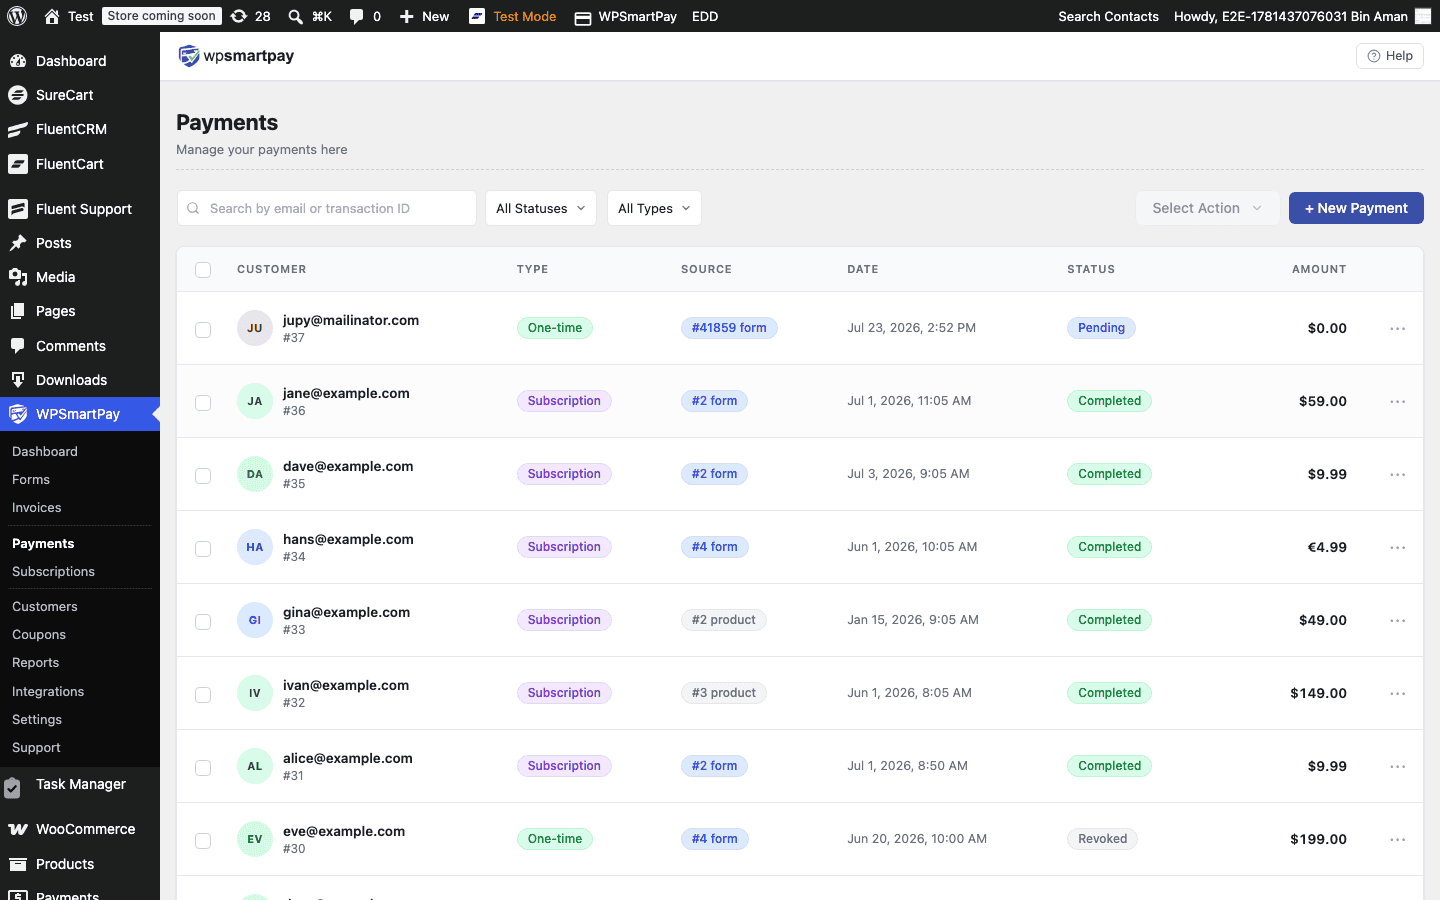
After success, check SmartPay → Payments — the payment should appear with status Completed.
Step 5 — Go Live
Go to SmartPay → Settings → Payment Gateways.
Toggle Test Mode off.
Confirm your live API keys are entered (not test keys).
Click Save Settings.
Your form is now live and accepting real payments.
6. Plugin Settings Overview
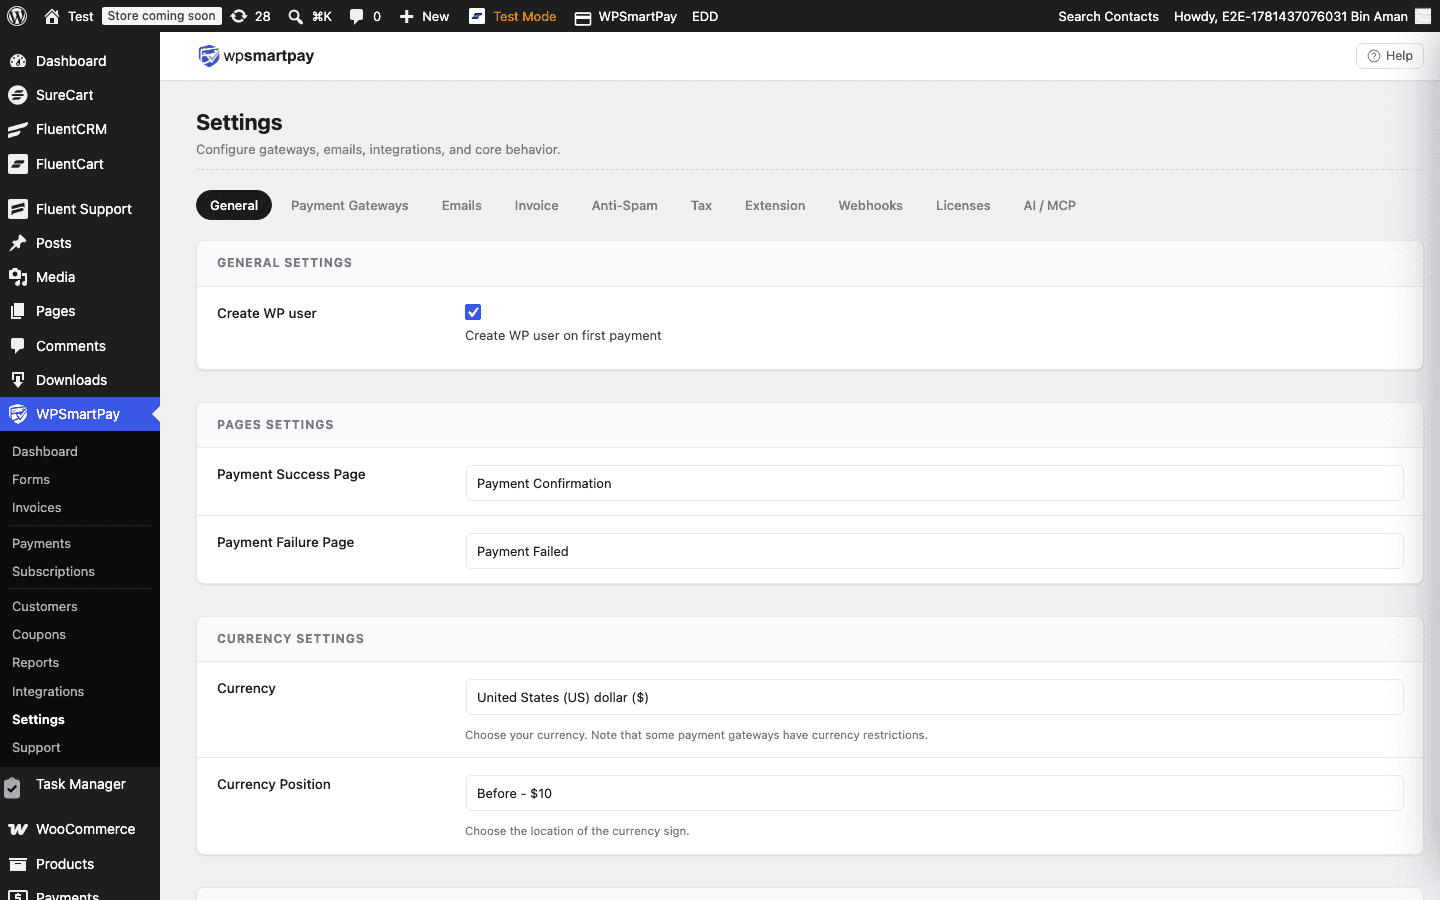
All SmartPay settings are under SmartPay → Settings. Here is a quick tour of each section:
General
Controls the store-wide defaults: business name, support email, currency, currency position, and date format. These appear on payment confirmations and invoices (Pro).
Payment Gateways
Lists all available payment gateways. Toggle gateways on/off, set the Default Gateway for forms that have multiple options, and configure individual gateway credentials. The Test Mode toggle is also here.
Emails
Configure automated emails sent to the buyer and admin after each payment. You can customize subject lines, message bodies, and enable or disable individual email types (payment receipt, payment failure, subscription renewal, etc.).
License (Pro)
Enter and activate your Pro license key. Shows your current license status, plan name, and expiry date.
Webhooks (Pro)
Configure outgoing webhooks to notify external systems when payments, subscriptions, or customer records change. Each webhook lets you select events and specify the endpoint URL.
MCP / AI (Pro)
Enables the Model Context Protocol (MCP) server for AI-powered payment queries and automation. Advanced feature — only needed if you are integrating with an AI agent or workflow tool.
Admin Menu Tour
The full SmartPay menu in your WordPress sidebar:
SmartPay — Dashboard with revenue charts and recent activity
Forms — Create and manage payment forms
Payments — All payment records with search, filter, and export
Customers — Customer profiles and purchase history
Coupons (Pro) — Discount codes and promotional offers
Subscriptions (Pro) — Recurring billing records and cancellation controls
Invoices (Pro) — Auto-generated PDF invoices
Reports — Revenue reports, export to CSV
Extensions (Pro) — Toggle and configure integrations (Mailchimp, Zapier, ActiveCampaign, etc.)
Settings — All configuration options described above
You are now set up and ready to accept payments. For next steps, see Creating Your First Payment Form or explore the Payment Gateways guides to configure your preferred processor.