
Payment Receipts
After every successful payment, WP SmartPay redirects the customer to a receipt page that confirms the transaction details. This article covers how to set up the receipt page and what it displays.
What the Receipt Shows
The receipt page, powered by the [smartpay_payment_receipt] shortcode, displays:
- Payment confirmation message
- Payment amount and currency
- Payment date and reference number
- Customer name and email
- Form or product name that was purchased
- Gateway used
Setting Up the Receipt Page
- Create a new WordPress page called "Payment Receipt" (or any name you prefer).
- Add the shortcode
[smartpay_payment_receipt]to the page body. - Publish the page.
- Go to SmartPay → Settings → General.
- Set the Payment Success Page field to the page you just created.
- Save settings.
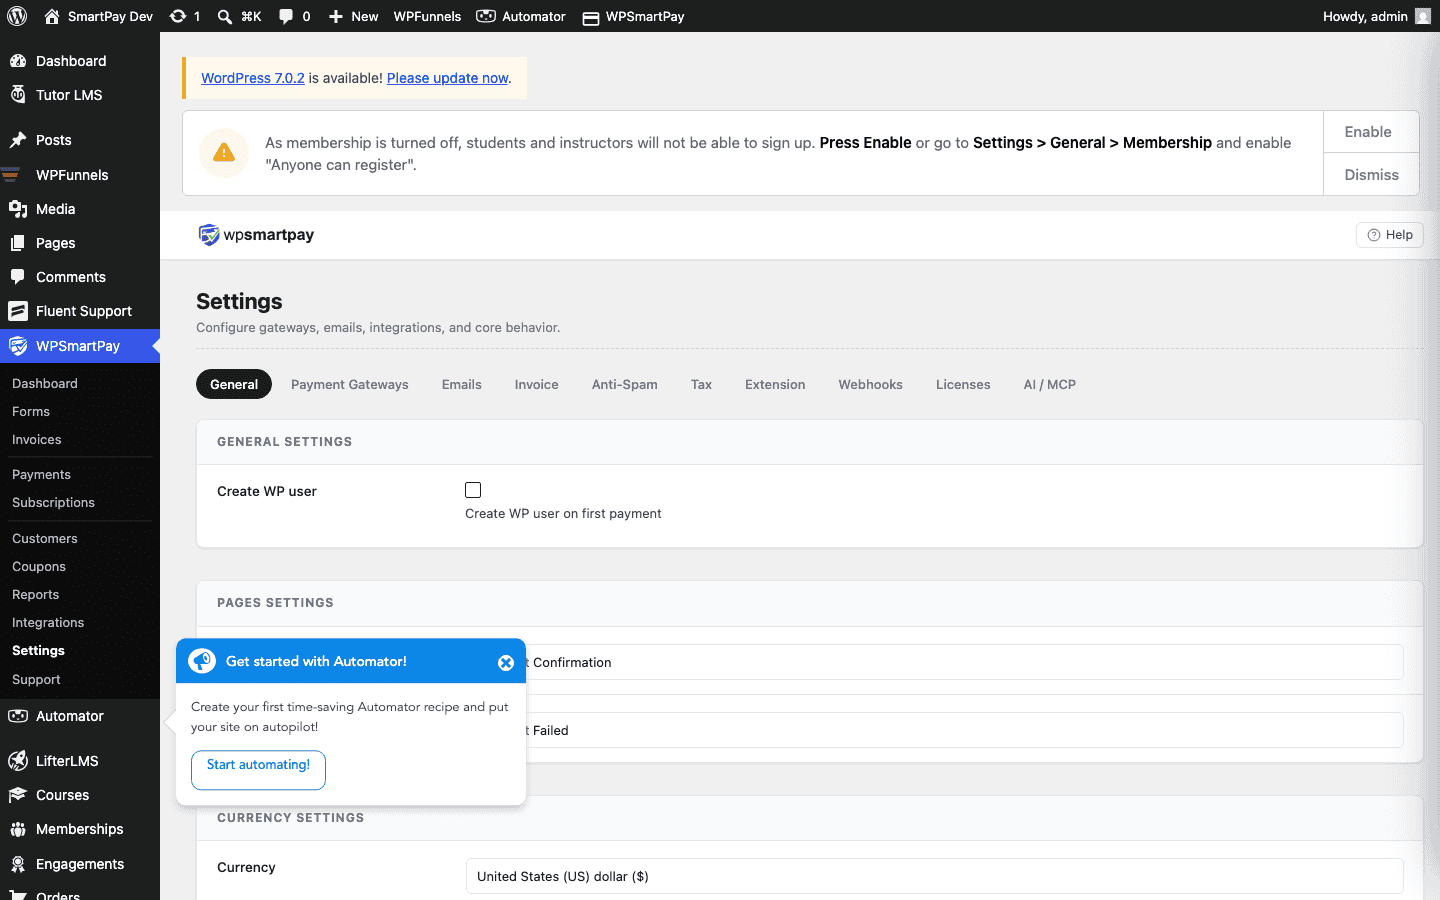
Customising the Receipt Page
You can add any content around the shortcode — a thank-you heading, your logo, next steps, social sharing links, or a call to action. The shortcode outputs the payment data only; everything else on the page is yours to design.
Example page layout:
<h2>Thank you for your payment!</h2>
<p>Your receipt is below. You will also receive a confirmation email shortly.</p>

[smartpay_payment_receipt]

<p>Questions? <a href="https://wpsmartpay.com/docs/contact">Contact us</a>.</p>
Viewing a Receipt from the Admin
To view the receipt for any past payment, open the payment detail page (SmartPay → Payments → click a payment) and click View Receipt. This opens the public receipt URL with the transaction pre-loaded.
Receipt Email
SmartPay also sends an automated receipt email to the customer after each successful payment. To customise the email subject, sender name, and body, go to SmartPay → Settings → Emails.