
WP SmartPay provides a set of frontend shortcodes that let your customers log in, register, manage their profile, and view their payment history — all without leaving your site.
Shortcode Reference
[smartpay_user_login]
Renders a login form for customers. After a successful login the customer is redirected to the page set in SmartPay → Settings → General → Login Redirect, or back to the page they were trying to access before the login wall appeared.
Use this on a dedicated "Sign In" page.
[smartpay_user_registration]
Displays a registration form that creates a new WordPress user account. After registration, the customer is automatically logged in and redirected to the login redirect page.
You can place both login and registration shortcodes on the same page (e.g., two columns: "Already a member? Log in | New here? Register").
[smartpay_user_profile]
A form where the logged-in customer can update their:
- Display name
- Email address
- Password (change with confirmation)
[smartpay_dashboard]
A payment history dashboard for the logged-in customer showing all their past payments — date, form/product, amount, status, and a link to the individual receipt. This is the most common "My Account" page shortcode.
Setting Up the Account Pages
- Create a WordPress page for each account function you want to offer. Suggested pages and shortcodes:
| Page Name | Shortcode |
|---|---|
| Sign In | [smartpay_user_login] |
| Register | [smartpay_user_registration] |
| My Account | [smartpay_dashboard] |
| Edit Profile | [smartpay_user_profile] |
- Go to SmartPay → Settings → General and assign the correct page to each setting:
- Login Page → Sign In page
- Registration Page → Register page
- Customer Dashboard → My Account page
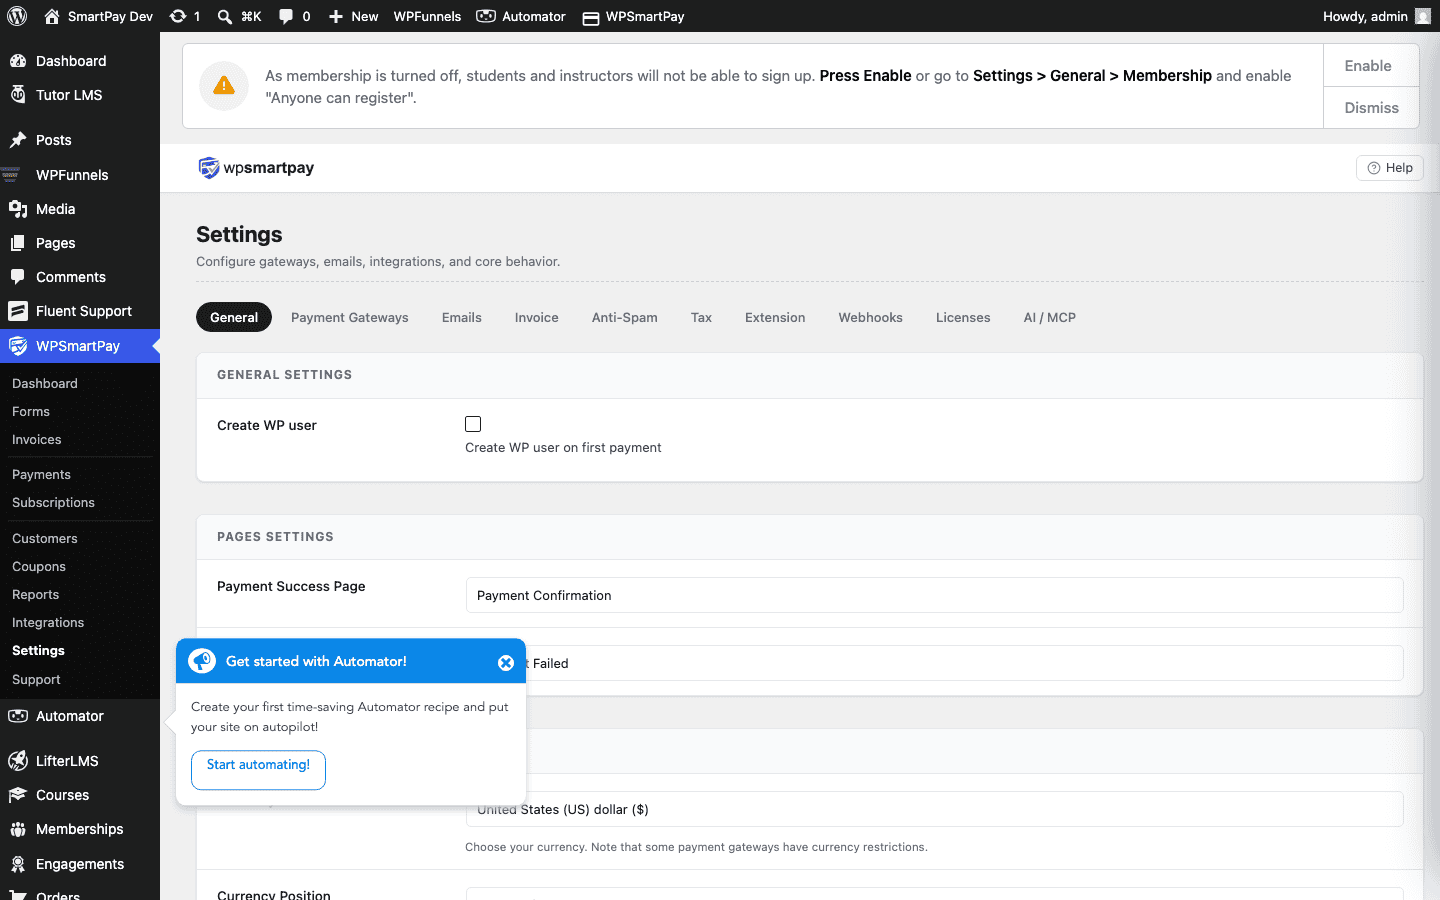
Linking the Pages Together
Add a link from your navigation menu or forms to:
- The Sign In page for logged-out visitors
- The My Account (Dashboard) page for logged-in customers
SmartPay handles the redirect automatically when using Require Login on payment forms — unauthenticated visitors are sent to the Login Page setting value.
Customising with Theme CSS
SmartPay's frontend forms use the class prefix .smartpay-. You can target any element with CSS in your theme's stylesheet or via the WordPress Customizer to match the forms to your brand.