
WP SmartPay Pro includes a built-in invoice system. Invoices are professional billing documents that you can send to customers manually or that are generated automatically when a payment is completed.
Invoice vs Payment Receipt
SmartPay has two different document types for completed transactions — it is worth understanding the difference:
| Document | Purpose | When Generated |
|---|---|---|
| Payment Receipt | Confirms a transaction was completed. Customer-facing confirmation page. | Automatically, immediately after every successful payment. |
| Invoice (Pro) | Formal billing document with line items, tax, your business details, and a due date. Suitable for accounting and B2B billing. | Automatically on payment completion (if enabled) or manually from the Invoices screen. |
Where Invoices Live
Go to SmartPay → Invoices to see all invoice records.
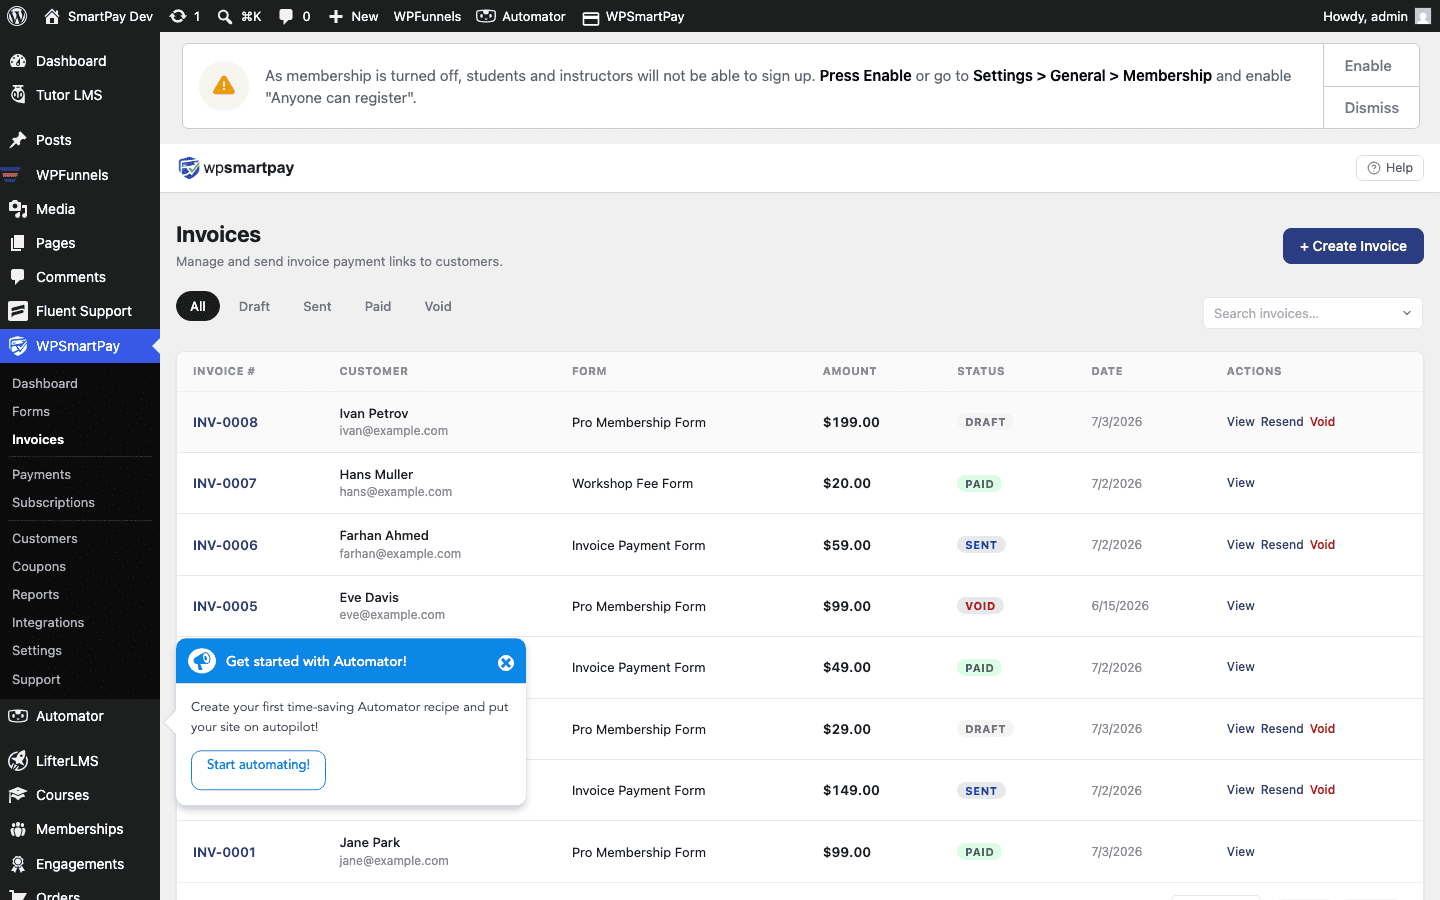
Auto-Generated vs Manual Invoices
Auto-generated: When a payment completes through a SmartPay form, an invoice is automatically created and linked to that payment. This happens silently in the background — you do not need to take any action. The invoice is available to view and send from SmartPay → Invoices.
Manual: You can also create invoices proactively from SmartPay → Invoices → Create Invoice. Send the invoice to the customer before they pay. When they pay through the invoice's payment link, the invoice is marked Paid automatically.
Invoice Contents
Every SmartPay invoice includes:
- Your business name, logo, and contact info (from General Settings)
- Invoice number with your configured prefix
- Issue date and due date
- Customer name and email
- Line items (form/product, description, quantity, unit price)
- Tax (if configured on the form)
- Additional charges (if configured)
- Subtotal and total
- Payment status badge