
WP SmartPay Pro lets you customise the appearance of all invoices with your business name, logo, footer text, and invoice numbering format. You can also print invoices directly from the browser.
Invoice Branding Settings
Go to SmartPay → Settings → General and look for the invoice-related fields:
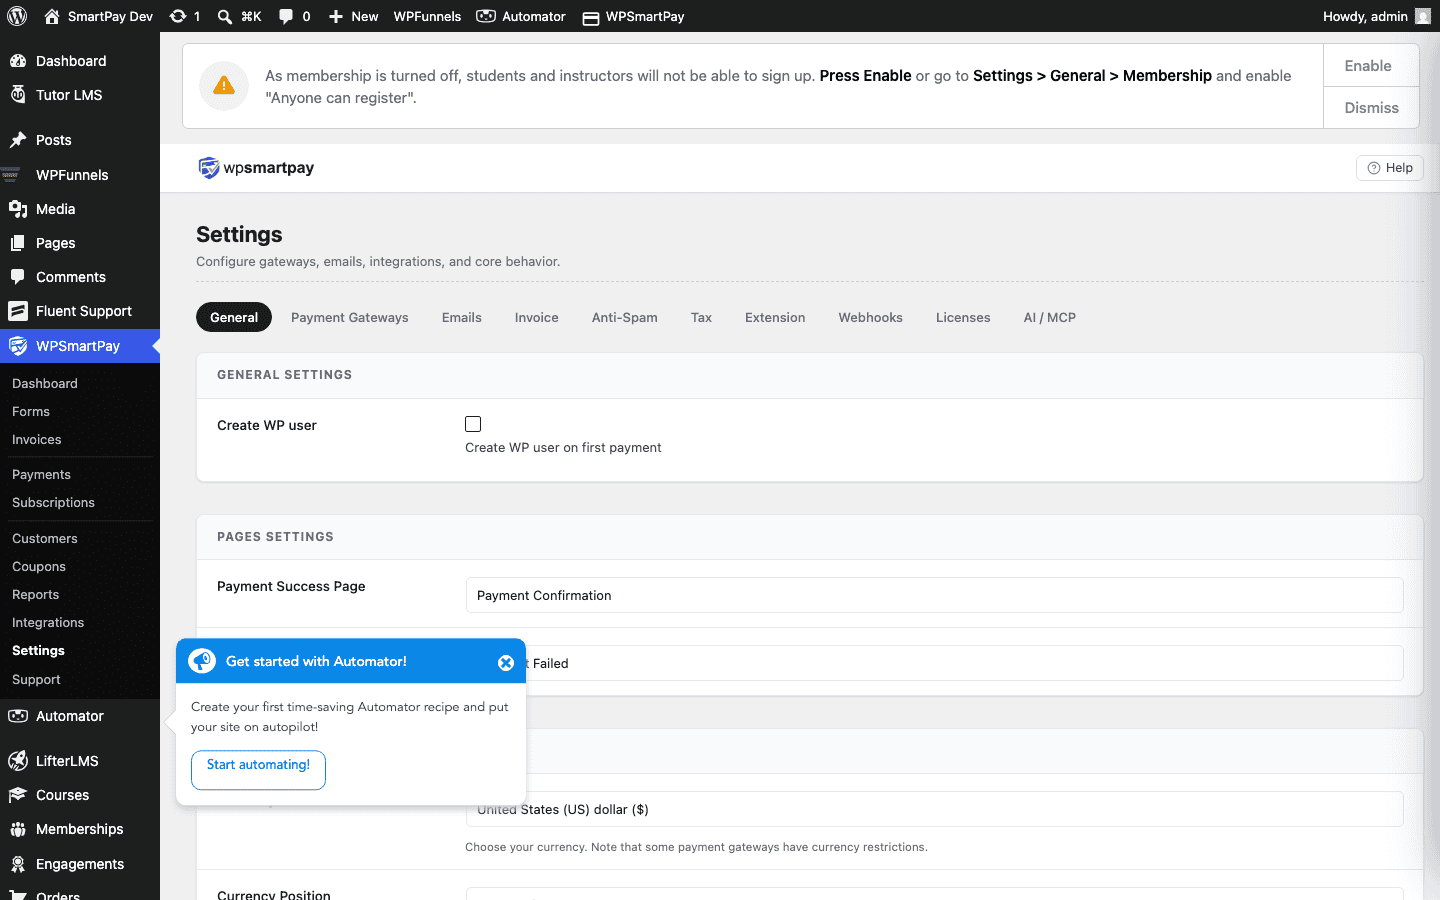
- Business Name — Appears at the top of every invoice as the seller name.
- Business Logo — Upload your logo (PNG or SVG recommended). It appears in the top-left corner of the invoice.
- Footer Text — Optional text at the bottom of every invoice — good for your business registration number, VAT number, terms of service URL, or a thank-you note.
- Invoice Number Prefix — Prepended to every invoice number (e.g., prefix
INV-gives invoice numbers likeINV-0042).
Print-Optimised Invoice Page
Every invoice has a dedicated print view. To access it:
- Open the invoice detail page (SmartPay → Invoices → click an invoice).
- Click Print Invoice.
- The page reloads with a clean, print-optimised layout — no admin bar, no sidebar, white background.
Print to PDF
To save an invoice as a PDF:
- Open the print view (above).
- In your browser, press Ctrl+P (Windows/Linux) or ⌘+P (Mac).
- In the print dialog, change the Destination to Save as PDF.
- Click Save and choose a filename.
This works in Chrome, Firefox, Edge, and Safari without any additional plugin.
What Appears on Printed Invoices
The printed invoice includes:
- Your logo and business name
- Invoice number and dates (issue + due)
- Customer billing information
- All line items with quantities, unit prices, and line totals
- Tax breakdown (if applicable)
- Additional charges (if applicable)
- Subtotal and total
- Payment status (Paid, Overdue, etc.)
- Your footer text
Tip: Set your logo to at least 200×60 px and use a transparent background PNG for the cleanest print result. Large raster images may print slowly or at reduced resolution.