
WP SmartPay Pro lets you set revenue goals tied to specific payment forms and display a fundraising progress bar on your site. Use goals for donation campaigns, crowdfunding targets, event fundraisers, or any effort where you want visitors to see progress toward a total.
Setting a Revenue Goal
- Go to SmartPay → Reports and click the Goals tab.
- Click Add Goal.
- Fill in:
- Goal Name — A label for internal reference (e.g., "Spring 2026 Fundraiser").
- Form — The payment form this goal is tracking. Revenue from payments on this form counts toward the goal.
- Target Amount — The revenue goal in your store currency (e.g., 10000 for $10,000).
- Period — The timeframe: Month, Year, or Lifetime. Month and Year reset automatically at the start of each period.
- Click Save Goal.
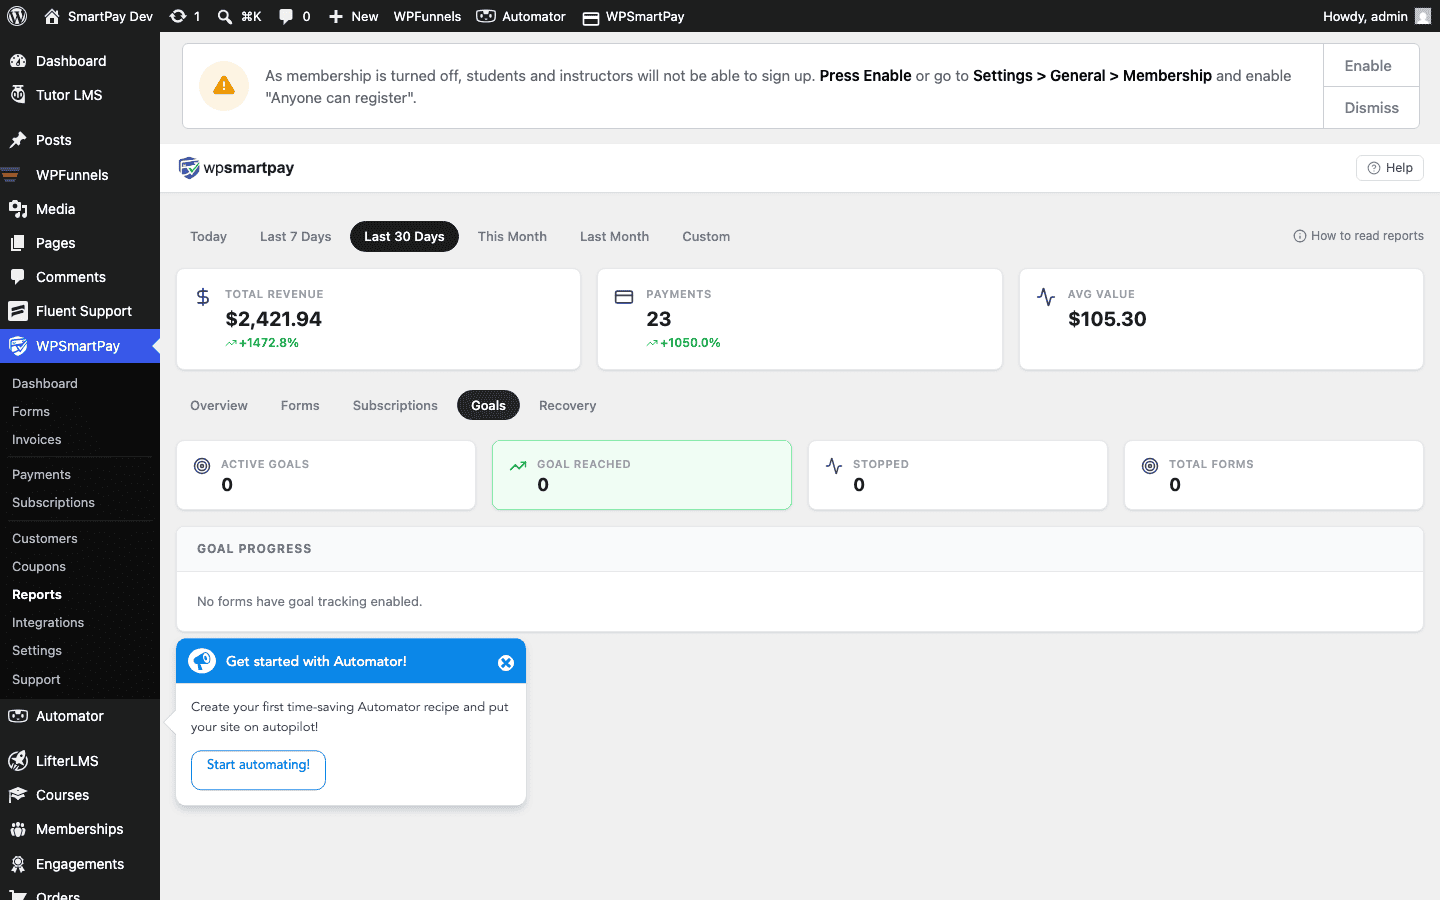
How Progress Is Calculated
Progress = sum of all Completed payment amounts on the linked form within the selected period ÷ target amount × 100.
Only Completed payments count. Refunded, failed, and pending payments do not increment progress.
Embedding the Progress Bar
Copy the shortcode shown on the goal row in the Goals tab. It looks like:
[smartpay_goal id="1"]Paste this shortcode on any WordPress page or widget. The bar renders as a visual percentage bar with the raised amount and target displayed. It updates in real time as new payments are received — no manual refresh required.
A common layout is placing the goal shortcode above or below the donation form itself:
[smartpay_goal id="1"]

[sp_form id="42"]
Resetting or Changing the Goal
To update a goal's target amount or form, click Edit on the goal row in the Goals tab. Monthly and yearly goals reset automatically; to reset a Lifetime goal you need to delete and recreate it.
Multiple Goals
You can have multiple goals, each linked to a different form. Each goal has its own shortcode and progress is tracked independently.