
WP SmartPay can write detailed diagnostic messages to a log file as payments are processed, webhooks are received, and integrations run. The debug log is the first place to look when something isn't working as expected.
Enabling Debug Logging
Add the following line to your site's wp-config.php file (before the line that says "stop editing"):
define('SMARTPAY_DEBUG', true);WordPress's own WP_DEBUG and WP_DEBUG_LOG constants do not need to be enabled — SmartPay's debug log is independent.
Warning: Debug logging can write sensitive information (API responses, webhook payloads, error details) to a file. Enable it only during troubleshooting, and disable it again once the issue is resolved.
Viewing the Debug Log
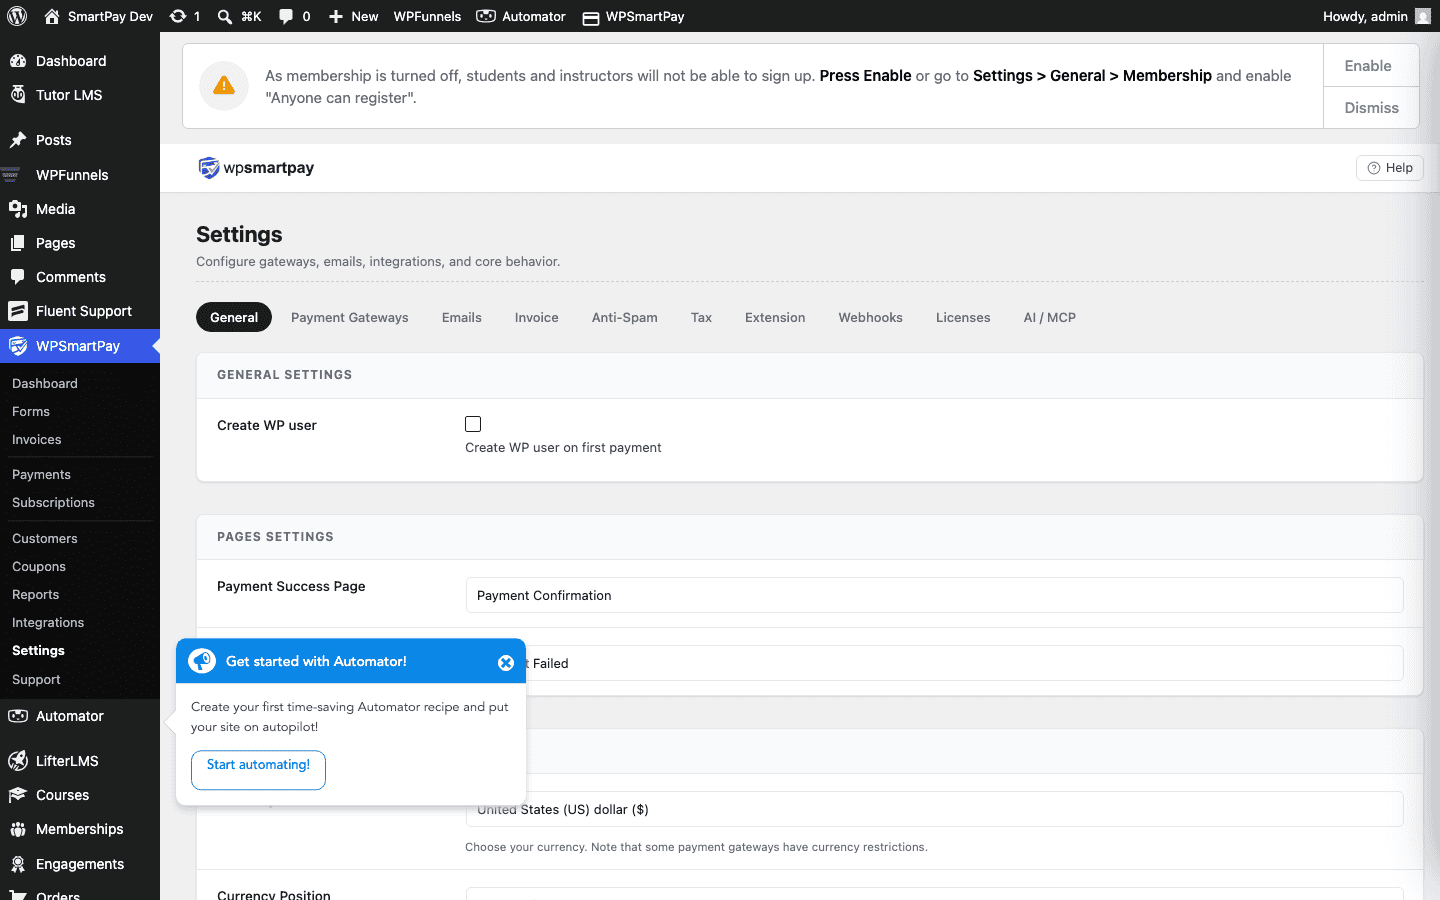
Once debug logging is enabled, go to SmartPay → Support → Debug Log. The log viewer shows the most recent entries, newest at the top.
Reading Log Entries
Each log entry has three parts:
- Timestamp — Date and time the event occurred (in your server's timezone).
- Level —
INFO(normal flow),WARNING(non-critical issue), orERROR(something failed). - Message — A description of what happened, often including the gateway response or PHP error details.
Look for ERROR entries first — they directly indicate what failed. WARNING entries flag unusual situations. INFO entries show normal processing steps and are useful for confirming that a webhook was received and processed.
Clearing the Log
Click Clear Log at the top of the debug log page to erase all entries and start fresh. Do this after resolving an issue to keep the log from growing large.
Log File Location
The log is written to a file at wp-content/uploads/smartpay-logs/debug.log. You can access it via FTP or cPanel File Manager if the admin log viewer is unavailable.