Offering guest checkouts is crucial for reducing abandoned carts and lifting conversion rates. Luckily, enabling this feature is built right into WooCommerce and only takes a few tweaks.
For users seeking to streamline the purchasing process and cater to a broader audience, understanding how to enable guest checkout in WooCommerce is key.
In this article, we’ll walk through the complete process of allowing customers to purchase from your WooCommerce store without creating an account first. Whether you want to remove checkout friction, cater to one-time buyers, or test which checkout flows perform better – a guest option is a must.
What is a guest checkout option in WooCommerce?
A guest checkout on WooCommerce allows customers to purchase products from a WooCommerce online store without needing to create an account or log in before checking out.
With a guest checkout enabled:
- Customers are not required to create an account or provide a password to make a purchase.
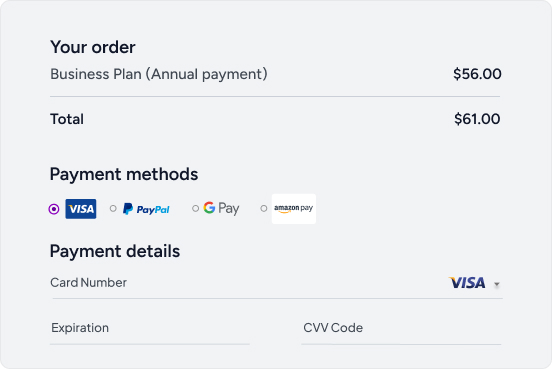
- They can check out by only providing information needed for that one-time order – like name, email address, and payment details.
- It allows a faster, frictionless checkout experience for those who don’t want to sign up first.
The guest checkout option in WooCommerce simplifies the purchasing process, allowing customers to buy without creating an account. Consider incorporating guest checkout to cater to diverse customer preferences and streamline your online store’s operations.
Why Enable Guest Checkout in WooCommerce?

In the dynamic landscape of e-commerce, enabling guest checkout in WooCommerce is not just an option; it’s a strategic move that offers numerous benefits for both merchants and customers alike. A guest checkout can benefit a WooCommerce store by:
- Reducing abandoned carts from users who don’t want to spend time signing up.
- Increasing conversion rates by removing steps from the checkout process.
- Accommodating users who are making a one-time purchase and won’t log in again.
- The key advantage over requiring registration is removing friction and letting customers check out quickly with minimal steps. This caters to user convenience and lifts conversions.
Enabling guest checkout in WooCommerce improves user experience, boosts conversion rates, accommodates various shopper behaviors, and tackles cart abandonment. This aligns with e-commerce trends, enhancing customer satisfaction and ensuring online store success.
How to enable WooCommerce guest checkout manually?
Now that you have a grasp of WooCommerce guest checkout and its advantages, let’s delve into a tutorial on activating it for your online store. The process is simplified into basic steps, ensuring easy comprehension for those without extensive technical expertise.
Let’s begin without further ado!
Step 1: Locate Accounts and Privacy
Navigate to the “Settings” page on the left-hand sidebar of your WooCommerce Dashboard:
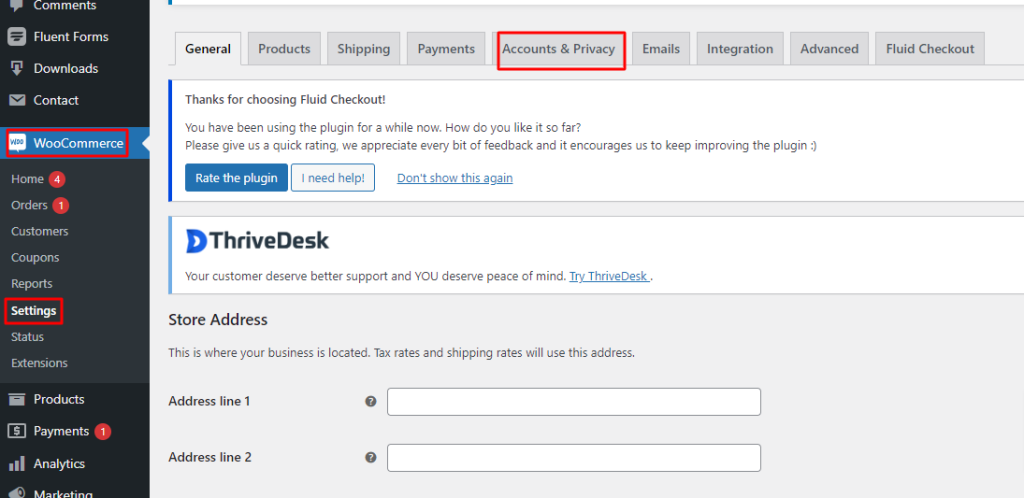
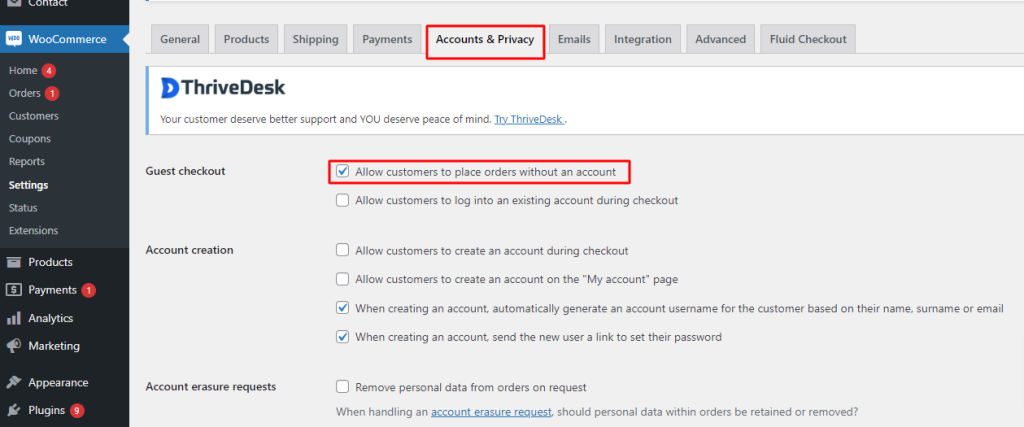
Step 2: Enable Guest Checkout
In the “Accounts and Privacy” section, find the checkbox labeled “Guest checkout.” Tick the box to successfully incorporate WooCommerce guest checkout on your website:
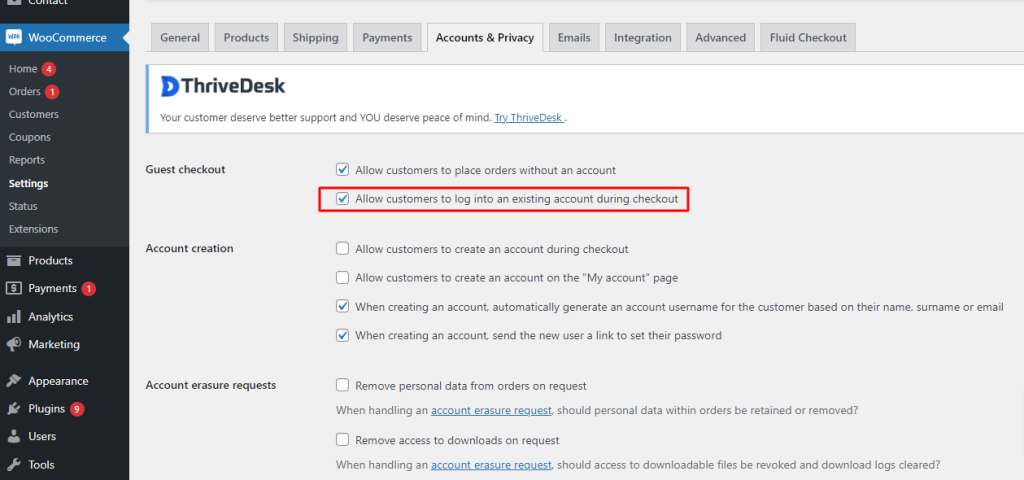
Step 3: Allow Login for Existing Users (Optional)
Under “Allow customers to place orders without an account,” you’ll find the option “Allow login for existing users during checkout.” Enabling this allows users to log in using their current accounts on your website.

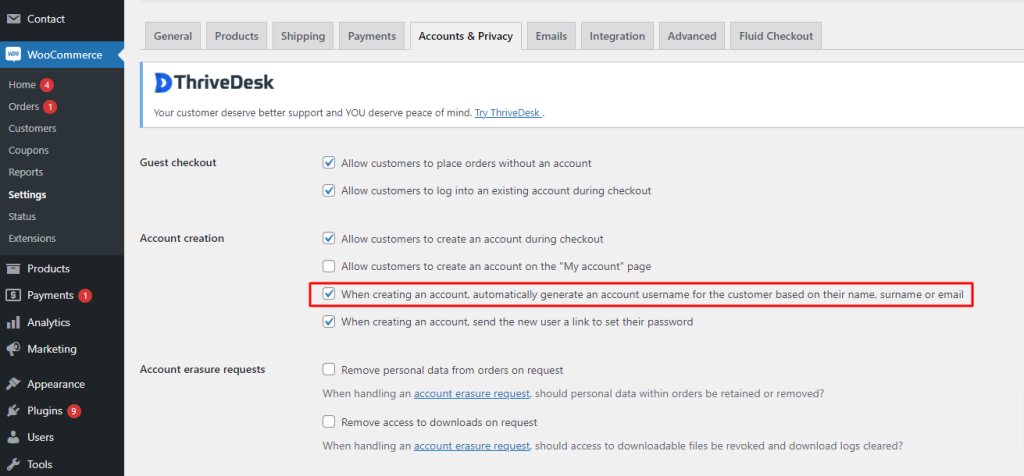
Step 4: Create an Account During Checkout (Optional)
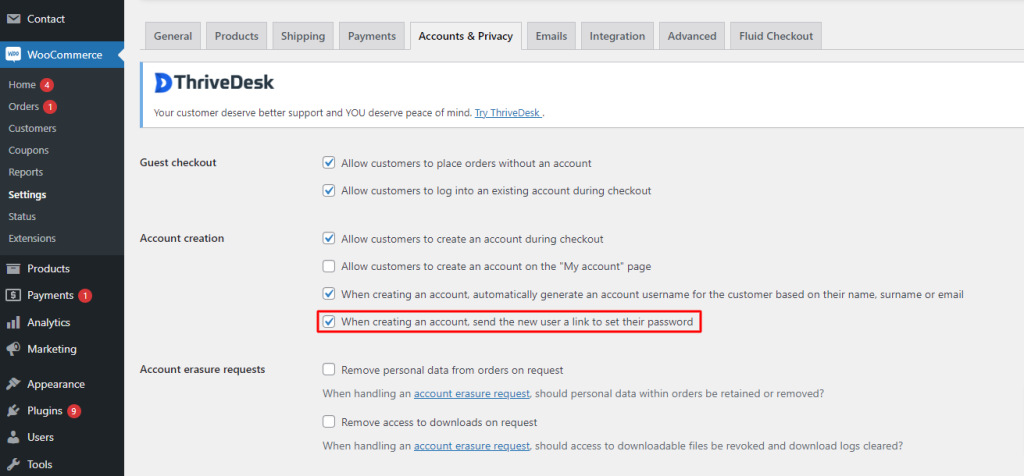
On the checkout page, you can permit customers to register for a new account by activating the “Allow customers to create an account during checkout” option. Additionally, you can automatically generate a username and password from the customer’s email address.
To automatically generate a username, check “When creating an account, automatically generate a username from the customer’s email address.” Likewise, for passwords, enable “When creating an account, automatically generate an account password.” An email containing the username and password is sent to the customer after successful registration on the checkout page:
Step 5: Save Changes
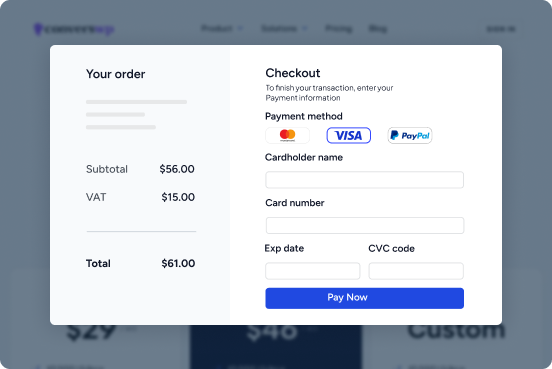
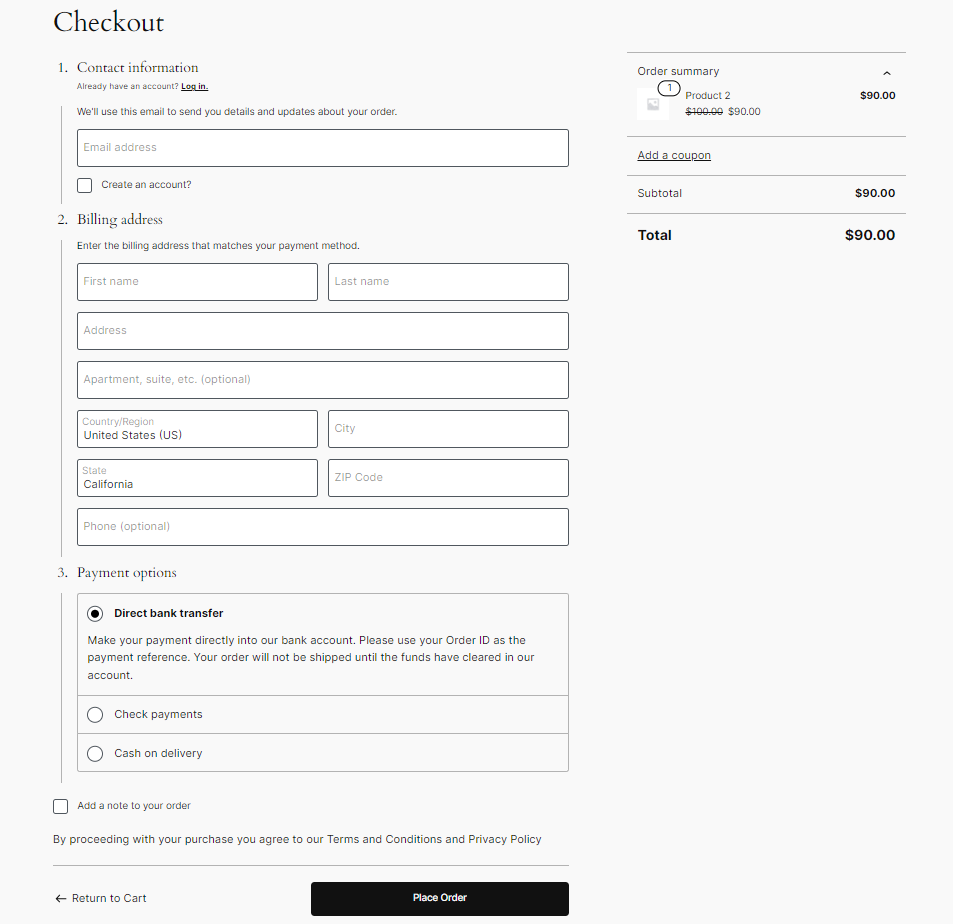
Before proceeding, remember to “Save changes.” Additionally, verify your front end to ensure the changes reflect correctly before leaving the website. This is what your front end should look like
You may also read: How to add a progress bar to checkout page on WooCommerce
Conclusion
And that wraps up everything you need to enable smooth, frictionless guest checkouts on your WooCommerce store! You’ve opened up an easier purchasing avenue optimized for convenience conversions by toggling a few simple settings.
Now buyers can skip over signing up and checkout in just a few taps. Whether they’re returning guests or one-time shoppers, customer convenience remains king. Removing that speed bump signals you respect their time and cuts unnecessary steps from buying your products.