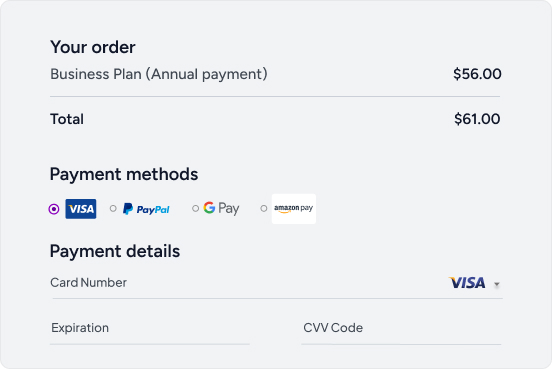
The checkout process is a critical stage in the customer journey for any online store. It’s where visitors transition from browsing to becoming paying customers. However, a lengthy or confusing checkout process can lead to cart abandonment and lost sales.
One effective way to improve the user experience and keep customers engaged during checkout is by adding a progress bar to your WooCommerce store. Let’s look at how you can implement a progress bar that visually guides customers through the checkout process, making it more transparent and user-friendly.
Benefits of Adding a Progress Bar to Your Checkout Page
Adding a progress bar to your checkout page can offer several significant benefits that enhance the overall shopping experience for your customers and boost your e-commerce success. Here are the key advantages:
Reduced Cart Abandonment: Cart abandonment is a common challenge in e-commerce. Customers may leave their shopping carts if they find the checkout process confusing or time-consuming. A progress bar visually breaks down the steps involved in completing a purchase.
🎖️Free Tools
Checkout our payment gateway fees calculator and take the right decision.
This transparency reassures customers that they are progressing towards the final step, reducing confusion, and making them more likely to follow through with their purchase.
Enhanced User Experience: The checkout process is a critical part of the overall user experience. A well-designed progress bar simplifies this journey by providing customers with a clear roadmap of what to expect.
It guides them through each step, making it easier to enter their information, select shipping options, and confirm their order. This streamlined experience leads to higher customer satisfaction and a positive impression of your brand.
Increased Conversion Rates: Simplifying and optimizing the checkout process is directly linked to higher conversion rates. When customers can see how close they are to completing their purchase, they are more likely to continue and finalize their order.
A progress bar helps remove any uncertainty and friction from the checkout process, resulting in more completed transactions and increased revenue for your business.
Mobile-Friendly Design: As mobile shopping continues to grow, it’s essential to have a checkout process that works seamlessly on smaller screens. A progress bar’s visual cues make it easier for mobile users to navigate through the checkout steps.
This mobile-friendly design ensures that customers on smartphones and tablets can complete their purchases without frustration, expanding your reach to a broader audience.
Improved Trust: Trust is a fundamental factor in online shopping. When customers can track their progress through a visible and well-designed progress bar, they feel more secure about the process. This transparency and clear guidance build trust with your customers.
They are more likely to trust your website with their payment information, leading to increased sales and potential for repeat business.
Installing a checkout progress bar plugin
The easiest way to get a progress bar to direct your customers through their checkout process on your WooCommerce store is simply installing a plugin. There are quite a few good ones available. Here’s how you do it:
Step 1: Install a Progress Bar Plugin
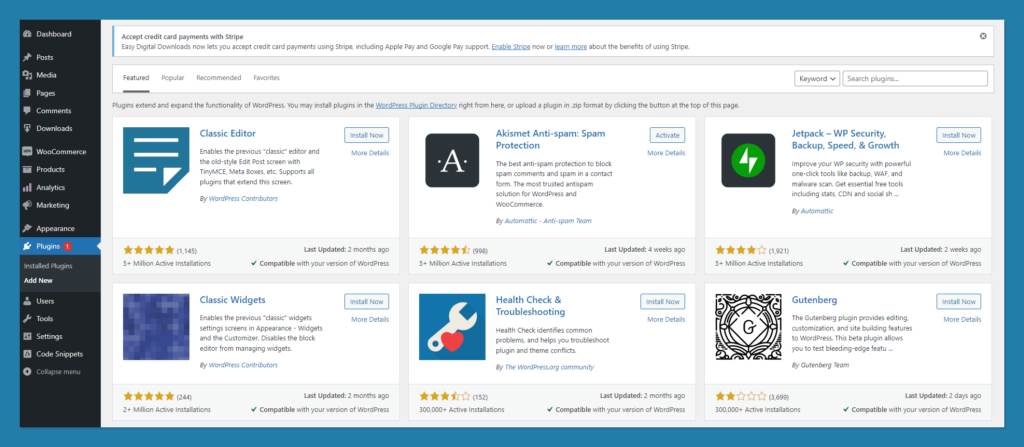
You’ll need a dedicated plugin to add a progress bar to your WooCommerce checkout page. Fortunately, WooCommerce offers various plugins and extensions that can help you achieve this. You can browse the official WooCommerce Extensions Store or search for third-party plugins on trusted platforms like WordPress.org.
Step 2: Choose the Right Progress Bar Plugin
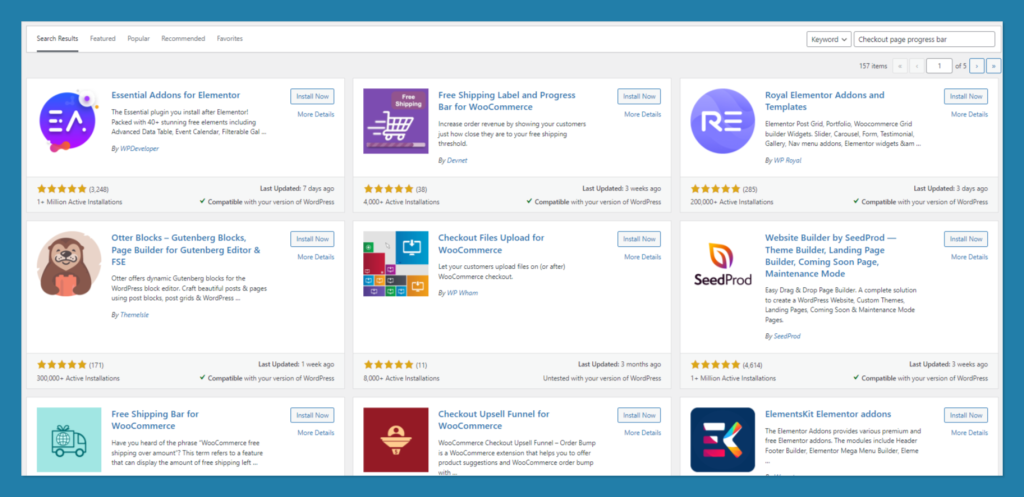
Select a WooCommerce progress bar plugin that suits your store’s design and checkout process. Look for features like customization options, compatibility with your WooCommerce version, and positive user reviews. Some popular options include “WooCommerce Multi-Step Checkout” and “Checkout Field Editor (Checkout Manager) for WooCommerce.”
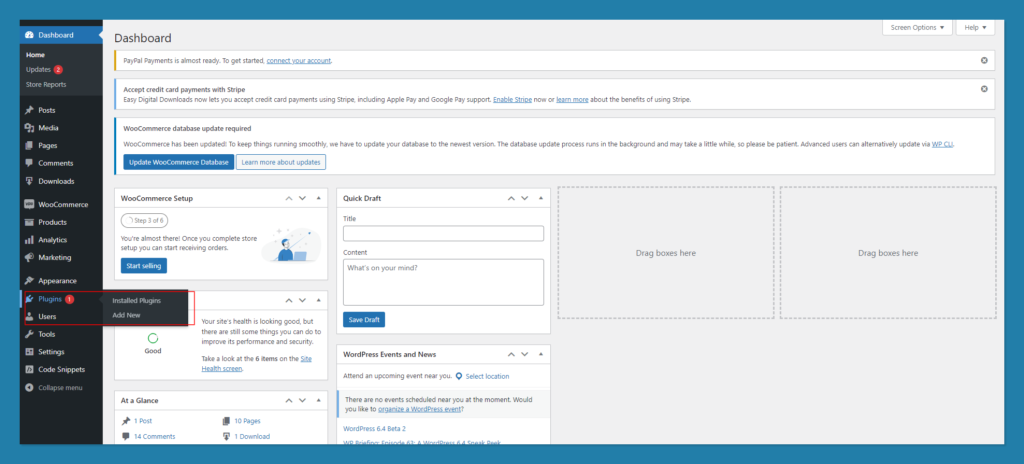
Step 3: Install and Activate the Chosen Plugin
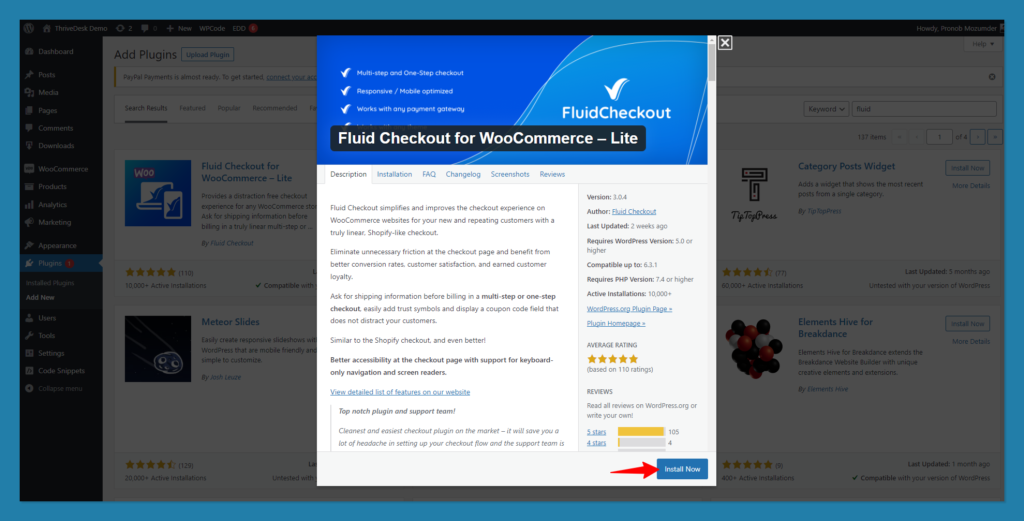
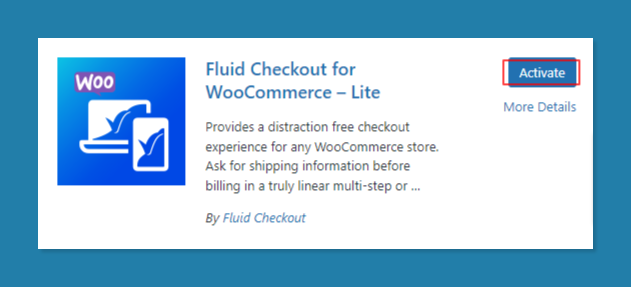
Once you’ve found the right plugin, install and activate it on your WooCommerce store. You can do this by just clicking on your desired plugin from the list and the from the pop up clicking “Install Now”. Then just click “Activate” on the plugin.
Step 4: Configure the Progress Bar
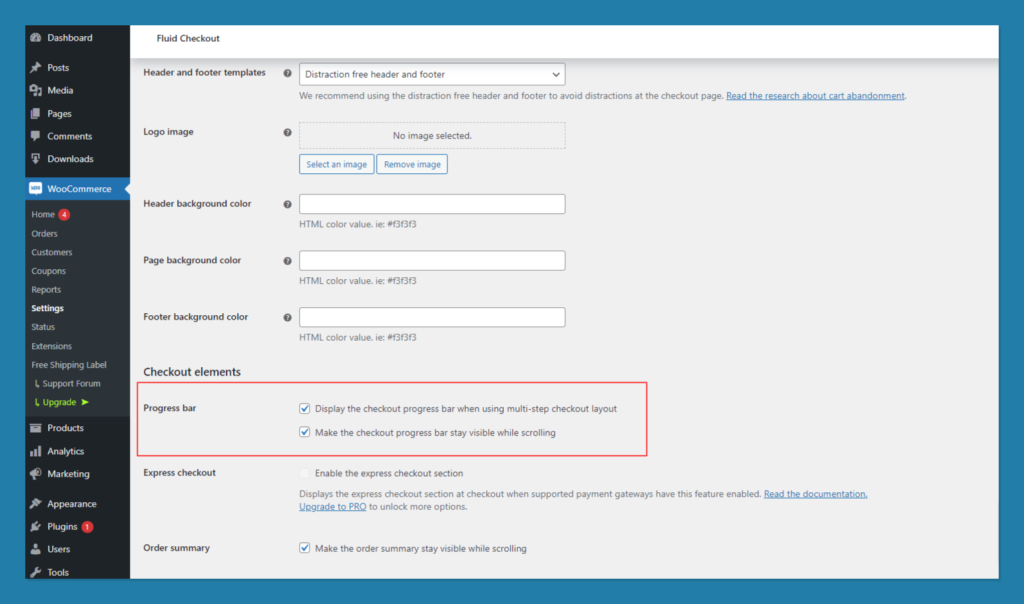
After activation, go to the settings or options page of your chosen progress bar plugin. Configure the progress bar’s appearance and behavior to align with your store’s branding and checkout flow. You should be able to customize the colors, labels, and steps displayed on the progress bar.
Step 5: Save Changes and Preview
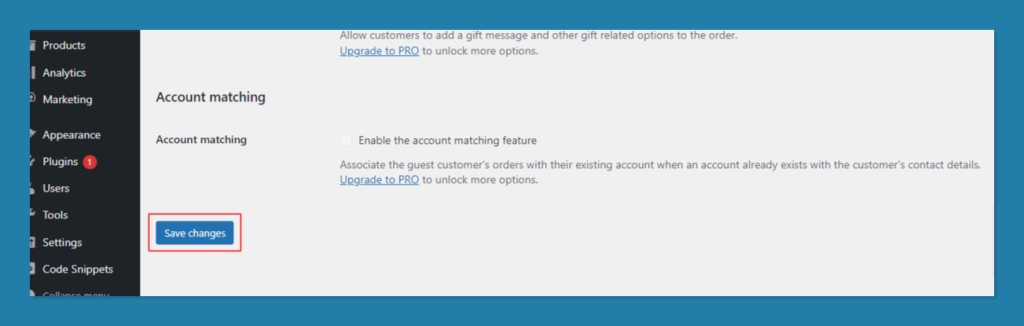
Once you’ve customized the progress bar to your liking, save your changes and preview your WooCommerce checkout page. Ensure that the progress bar appears correctly and accurately reflects the steps in your checkout process. Make any necessary adjustments to ensure a seamless user experience.
Step 6: Test the Checkout Process
Before making the progress bar live for all customers, it’s essential to thoroughly test the checkout process to identify any issues or inconsistencies. Ensure that each step corresponds to the progress bar’s sections and that customers can smoothly navigate from one step to the next.
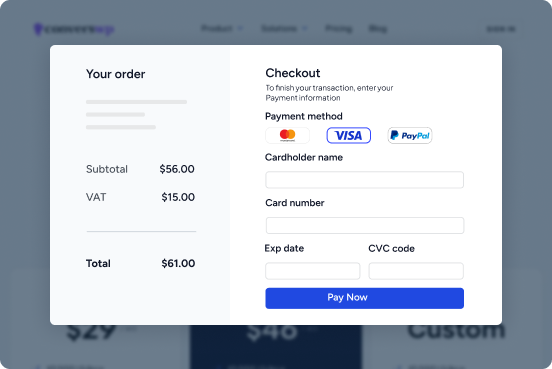
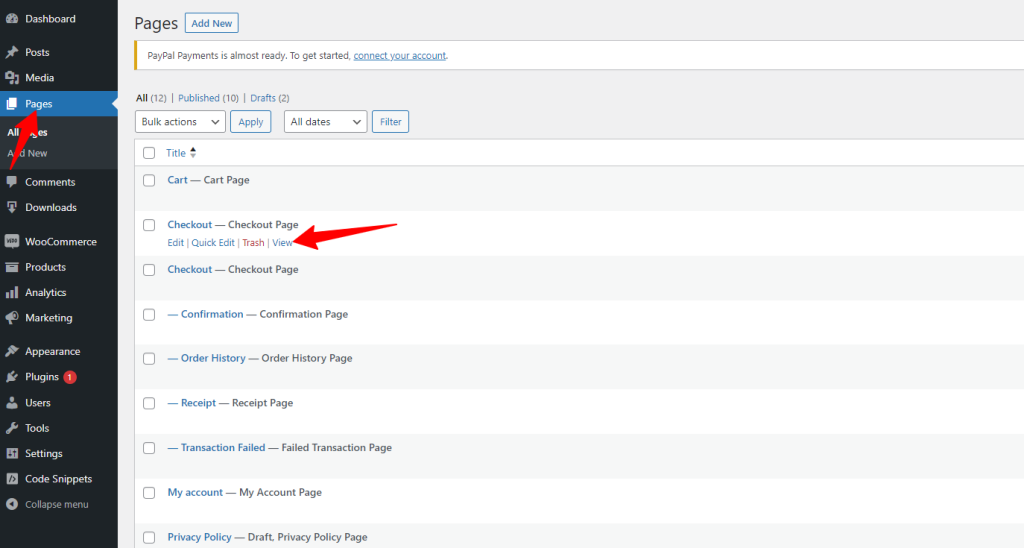
Go to “pages” on your WooCommerce dashboard and then view your checkout page.

Add a few products from the shop and click “Proceed to checkout”

Step 7: Make It Live
Once you’re confident that the progress bar works seamlessly and enhances the checkout experience, make it live for all customers. Save your settings and exit the plugin’s configuration panel.
Some of the best checkout progress bar plugins available
Fluid Checkout WooCommerce plugin

Fluid Checkout is a WooCommerce plugin that replaces the default WooCommerce checkout page with a more streamlined and user-friendly checkout experience. It features a single-page checkout process, customizable product fields, and support for a variety of payment and shipping options. Fluid Checkout is also mobile-friendly and responsive, so it will look great on any device.
Free Shipping Label and Progress Bar for WooCommerce plugin

Free Shipping Label and Progress Bar for WooCommerce is a WooCommerce plugin that adds a shipping label and progress bar to the checkout page. The shipping label shows customers how much they need to spend in order to qualify for free shipping. The progress bar shows customers how close they are to reaching the free shipping threshold.
Multi-step Checkout for WooCommerce plugin

Multi-step Checkout for WooCommerce is a WooCommerce plugin that replaces the default WooCommerce checkout page with a multi-step checkout process. This can make the checkout process less overwhelming for customers and can help to increase conversion rates. The plugin allows you to customize the number of steps in the checkout process and the fields that are included in each step.
Final thoughts
Adding a progress bar to your WooCommerce checkout page can significantly improve the user experience and reduce cart abandonment rates. It provides customers with a clear visual guide through the checkout process, making it more transparent and user-friendly.
By following the steps outlined in this guide and choosing the right progress bar plugin for your store, you can enhance your WooCommerce checkout page and increase your chances of converting visitors into satisfied customers.