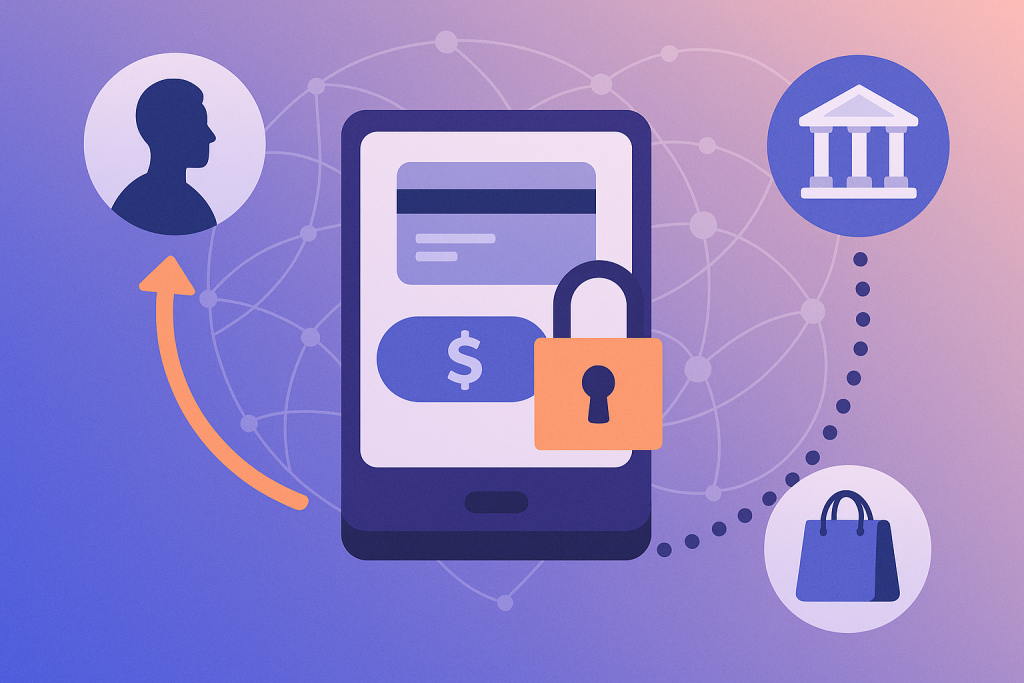
Selling online is now easier than ever. But to receive money from customers, you need a safe and simple way to accept payments.
This is where a payment gateway comes in. Whether you run an online store, a mobile app, or offer services on the web, a payment gateway helps your customers pay you easily and securely.
This blog explains what a payment gateway is, how it works, different types of gateway setups, how to add one to your website or app, and what you must consider regarding costs, safety, and best practices.
This guide is made simple for beginners with no technical experience.
What Is a Payment Gateway?
A payment gateway is software that lets you accept payments online. It is like a digital version of the card machine at a store. But it does much more than just record payments.
Here are three main roles:
- Accept Payment Information: It collects the customer’s payment details in a safe environment.
- Validate Payment: It checks with the bank or card company to ensure the payment is valid.
- Return the Result: It tells your website or app whether the payment was successful or not.
In short, a payment gateway makes online payments fast, easy, and secure for both you and your customers.
How Payment Gateways Work
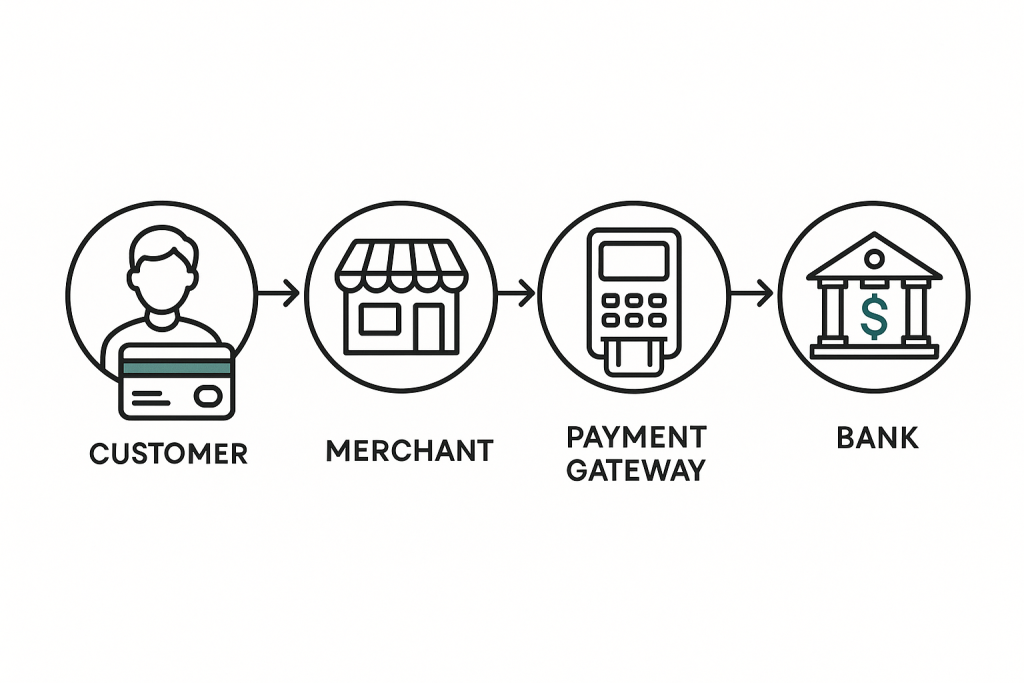
Let’s look at the payment process in detail:
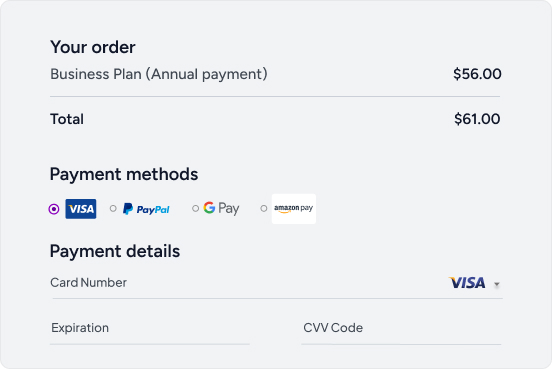
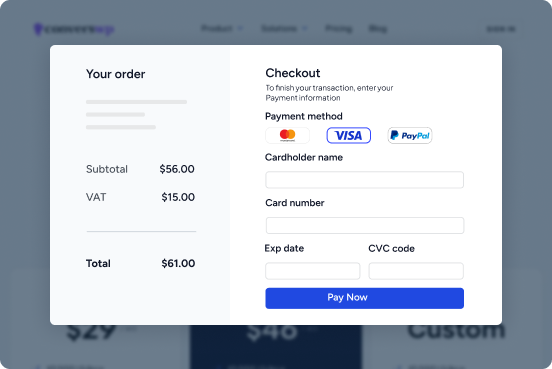
1. Customer starts checkout: When a customer clicks “Buy Now” or “Pay,” they begin the checkout process.
2. Payment details are entered: The customer fills in their card number, expiry date, CVV, or selects a digital wallet or other payment method.
3. Gateway encrypts data: To protect the details, the gateway encrypts the information using SSL or TLS, which prevents hackers from reading it.
4. Gateway sends info to card network: The encrypted data is sent to Visa, MasterCard, or other networks that manage card rules.
5. Card network validates the card: The card network contacts the issuing bank (the customer’s bank) to check if the card is active and funds are available.
6. Bank approves or declines: The issuing bank sends back approval or denial based on validation.
7. Response returns to gateway: The gateway gets the answer and forwards it to your website or app.
8. Your site shows result: If approved, your site shows a thank you message. If declined, it shows an error and asks the customer to try another payment method.
9. Settlement happens later: At the end of the day or period, the gateway collects the approved payments and deposits the money into your account.
10. Funds appear in your merchant account: Once settled, you can transfer the funds to your bank account.
This full cycle usually takes minutes or hours, but it sets up trust and makes payment easy.
Types of Payment Gateway Integrations
There are different ways to add a payment gateway to your website or app. Each has its own level of difficulty and security needs. Here is a simple table to understand them:
| Type | Description | Technical Skill | PCI Compliance Effort |
|---|---|---|---|
| Hosted Checkout | Customer is sent to a payment page on the gateway’s website | Low | Low |
| API-Based Integration | Payment form is on your website and connects to the gateway through code | Medium | Medium to High |
| Self-hosted | You collect the payment info and send it to the gateway manually | High | Very High |
| Direct-post (Transparent) | Payment info is sent directly to the gateway without storing it | Medium | Medium |
| Mobile SDK or Plugin | Easy-to-use software for mobile apps or website platforms like WordPress | Low | Low to Medium |
Step-by-Step Integration Guide
Here is a simple guide to help you integrate a payment gateway step by step:
1. Choose the Right Payment Gateway
Consider:
- Which payment methods you need (cards, wallets, UPI, etc.)
- Your customer’s location and currency
- Setup, monthly, and per-transaction fees
- Supported platforms (ecommerce plugin, mobile SDK, API)
- Quality and clarity of developer documentation
Start with one gateway, then add more later if needed.
2. Open a Merchant Account

You typically provide:
- Business info (name, address, tax ID)
- Banking info for payouts
- Personal identity proofs for verification
Verification may take hours or days.
3. Get Your API Keys or Credentials
Once verified, the gateway provides:
- Public keys for frontend requests
- Secret keys for server or backend tasks
Store secret keys securely using environment variables.
4. Use a Sandbox for Testing
Gateways offer sandbox or test accounts to simulate payments. Use fake card numbers and perform test scenarios:
- Success
- Decline
- Expired card
- Network timeout
Make sure your system handles each case correctly.
5. Add Payment Code to Your Site or App
Depending on your integration:
Mobile SDK or plugin: Install and customize according to your app or platform
Hosted: Insert button and redirect to checkout page
API-based: Use frontend form or gateway UI elements to collect data
Direct Post: Send browser form data directly to gateway
6. Handle the Gateway Response
After a customer pays, the gateway will tell your system if the payment was a success or failed. You should handle this response and show the correct message to the user.
7. Go Live
Once testing is complete, switch from the test keys to live keys. Make sure your website uses HTTPS for secure connections. Then, your payment system is ready for real customers.
Cost to Consider
Here are the common costs involved in setting up a payment gateway:
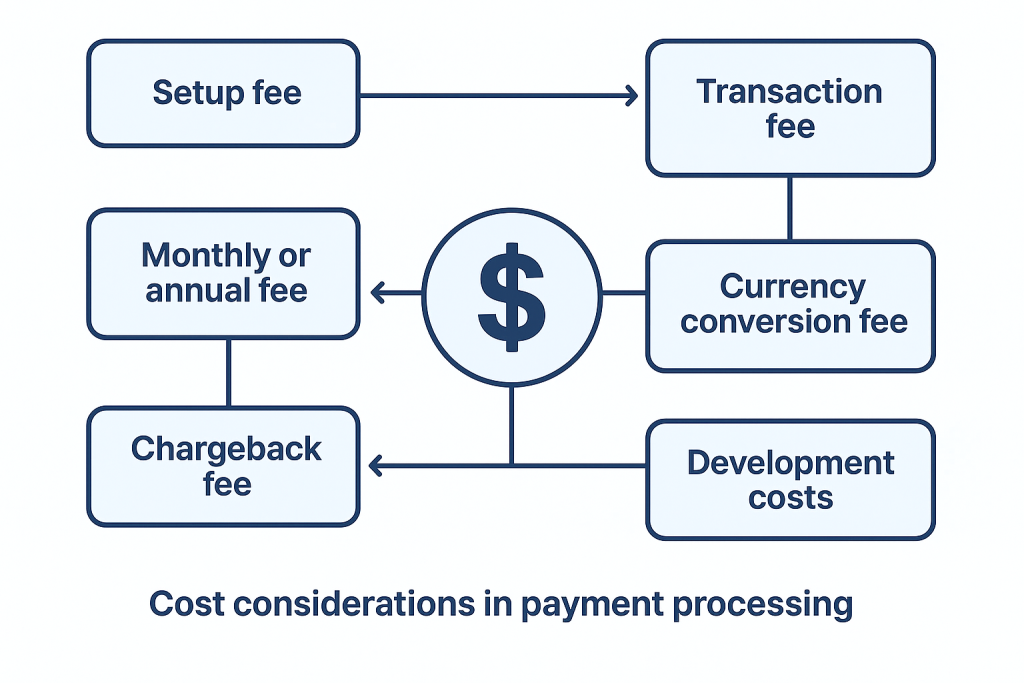
- Setup Fee: One-time fee to start the service
- Monthly or Annual Fee: Regular charges for using the gateway
- Transaction Fee: Charged every time a customer makes a payment, usually a small percentage plus a fixed fee
- Currency Conversion Fee: An Extra fee if you accept foreign currencies
- Chargeback Fee: Fee if a customer disputes a transaction
- Development Costs: If you hire someone to help with the setup
- Maintenance Costs: For updates, bug fixes, and support
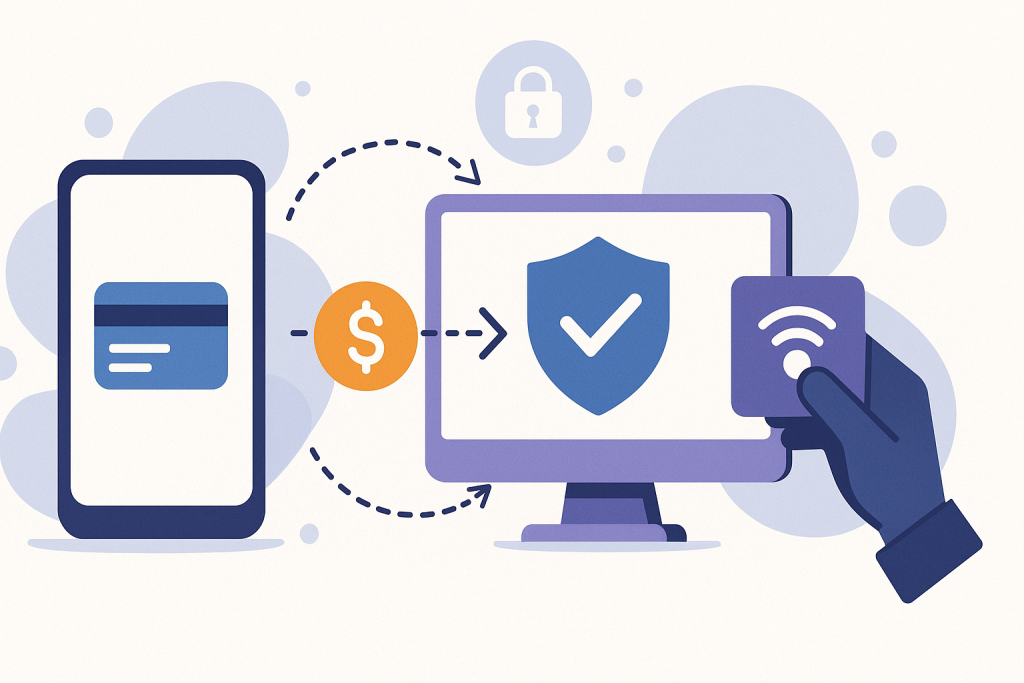
Security and Compliance
Security is very important when handling customer payments. Here are the main things you need to focus on:
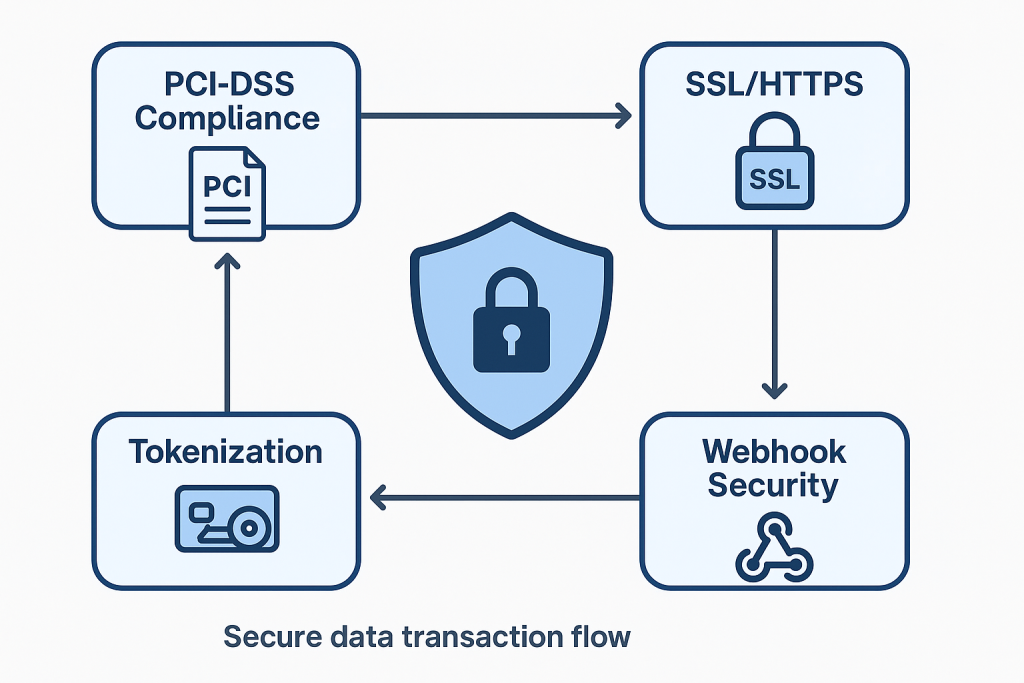
PCI-DSS Compliance
PCI-DSS is a set of rules that all businesses must follow if they handle card payments. If you use a hosted solution, most of the work is done for you. If you host card data yourself, the rules are stricter.
SSL or HTTPS
Your website must use HTTPS. This shows a lock symbol in the browser and ensures that all data sent is safe and encrypted.
Tokenization
Many gateways use tokenization. This means they replace card details with a unique code, so you never see or store the real card number.
Fraud Protection
Use tools like address checks, one-time passwords, or fraud detection systems to stop fake payments.
Webhook Security
If your system uses webhooks (notifications from the gateway), make sure they are protected so no one can send fake messages to your site.
Quick Tips for Beginners
Here are simple tips to help you start strong:
- Start with a hosted gateway or plugin for easy setup
- Use the sandbox to test before going live
- Follow the gateway’s official documentation step by step
- Never store real card details on your server
- Use secure passwords and keep your system updated
- Show clear error messages to help users retry payments
- Offer more than one payment option to reduce drop-offs
- Keep your site or app fast and mobile-friendly
- Enable email or SMS notifications for failed or successful payments
- Keep a record of all transactions for support and refunds
Conclusion
Setting up payment gateways may seem difficult at first, but it becomes easy once you follow the right steps. You do not need to be a tech expert to begin.
Start with a simple setup, test everything carefully, keep your system secure, and grow from there.
A good payment system helps you get paid faster, keeps your customers happy, and builds trust.
With the tips in this guide, you are ready to accept payments and grow your online business with confidence.