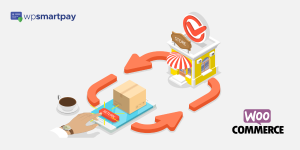
Have you ever dreamt of selling your digital products online but didn’t know where to start? Do you have a creative streak that’s waiting to be unleashed upon the world, but you’re unsure how to turn it into a profitable business? Look no further than selling digital products with WooCommerce!
WooCommerce is the perfect platform for anyone looking to start selling their digital products online.
But where do you start? How do you go from zero to digital sales hero? That’s where this article comes in. We’ll take you on a journey through the art of selling digital products with WooCommerce, from optimizing your store for sales to promoting your products to the world.
Now let’s dive right into the details, shall we?
Setting up your store
Setting up your own Woocommerce store is a great way to get started with e-commerce. With the help of Woocommerce, you can easily create an attractive and user-friendly store in no time. You can customize it according to your needs, add different features, and manage it from one place.
We will cover all the necessary steps such as setting up payment gateways, creating product pages, adding shipping options, setting taxes and discounts, and more. With this guide by your side, you can be sure that your Woocommerce store is ready to go live!
Installing WooCommerce
To install WooCommerce on a WordPress site, the first step is to install and activate the WooCommerce plugin. This can be done by going to the Plugins tab in the WordPress dashboard, clicking Add New, searching for “WooCommerce”, and clicking Install Now.

After activating the plugin, you will be presented with the WooCommerce setup wizard which will help you configure your store.
The next step is to select a payment gateway, set up shipping zones, and install recommended extensions. Finally, it is important to verify that core pages are functioning correctly.
Adding digital products
To add digital products in WooCommerce after installation, the first step is to install and activate the WooCommerce plugin. Once the plugin has been activated, create the WooCommerce pages and configure the plugin settings for digital products that you want to sell from your WordPress website.
Next, add your digital products by navigating to Products → Add Product. When creating a new product in WooCommerce, be sure to click the “Downloadable” box on the General tab. This will alter your product type to Downloadable and enable you to upload a file associated with this product.

You may also want to consider further customizing your WooCommerce store by adding additional schema types for e-books or other digital goods, as well as adding screenshots, video clips, or samples of your digital products.
Finally, manage orders with downloadable line items by going to WooCommerce > Orders and selecting the order. Scroll down to the Downloadable Product Permissions meta box, which displays the download permissions for each customer who purchased a downloadable product. To make digital products private, use the WooCommerce Protected Categories plugin and send digital or virtual products to customers via email or other methods of delivery.
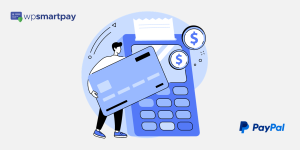
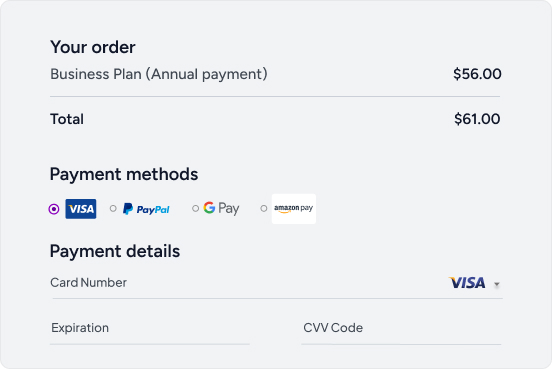
Setting up payment gateways
To set up payment gateways in a WooCommerce store, you need to access the payment settings through WooCommerce > Settings > Payments.
Here, you will see all the available payment options in your store and can enable or disable specific payment options. To access the individual settings of a payment option, you can either click its name or click the Setup button (or manage when enabled) on the right.
You can choose from a range of available choices including Paddle Payment Gateway, Stripe Payment Gateway, Amazon Pay Payment Gateway, Authorize.net Payment Gateway, PayPal Payment Gateway and more.

To set up each gateway, you will need to follow the instructions provided by each gateway’s website. For example, to set up Check Payments on your WooCommerce store, you need to go to WooCommerce >Settings> Payments and enable Check payments, then click on Set up and configure the payment method and enter your business details with our payments partner Stripe.
Once you have finished setting up your payment gateways, make sure they are enabled by checking the Enable WooCommerce Payments box in the Payments > Settings section of your WordPress dashboard. You can also test WooCommerce Payments before taking any real payments by checking the Test Mode box.
If you feel the payment receiving services are a little too expensive on WooCommerce’s part, you can switch to more affordable alternatives such as Paddle for WooCommerce. Paddle for WooCommerce is not only cheap, but also easy to setup and use. It is currently one of the growing plugins for WooCommerce to receive payments.
Configuring tax and shipping settings
To configure tax and shipping settings, you need to click on the general tab> enable tax rates and calculations from your plugin settings. Once enabled you can go to Settings > Tax in your WooCommerce admin to setup the rates that apply in the country and any regions.
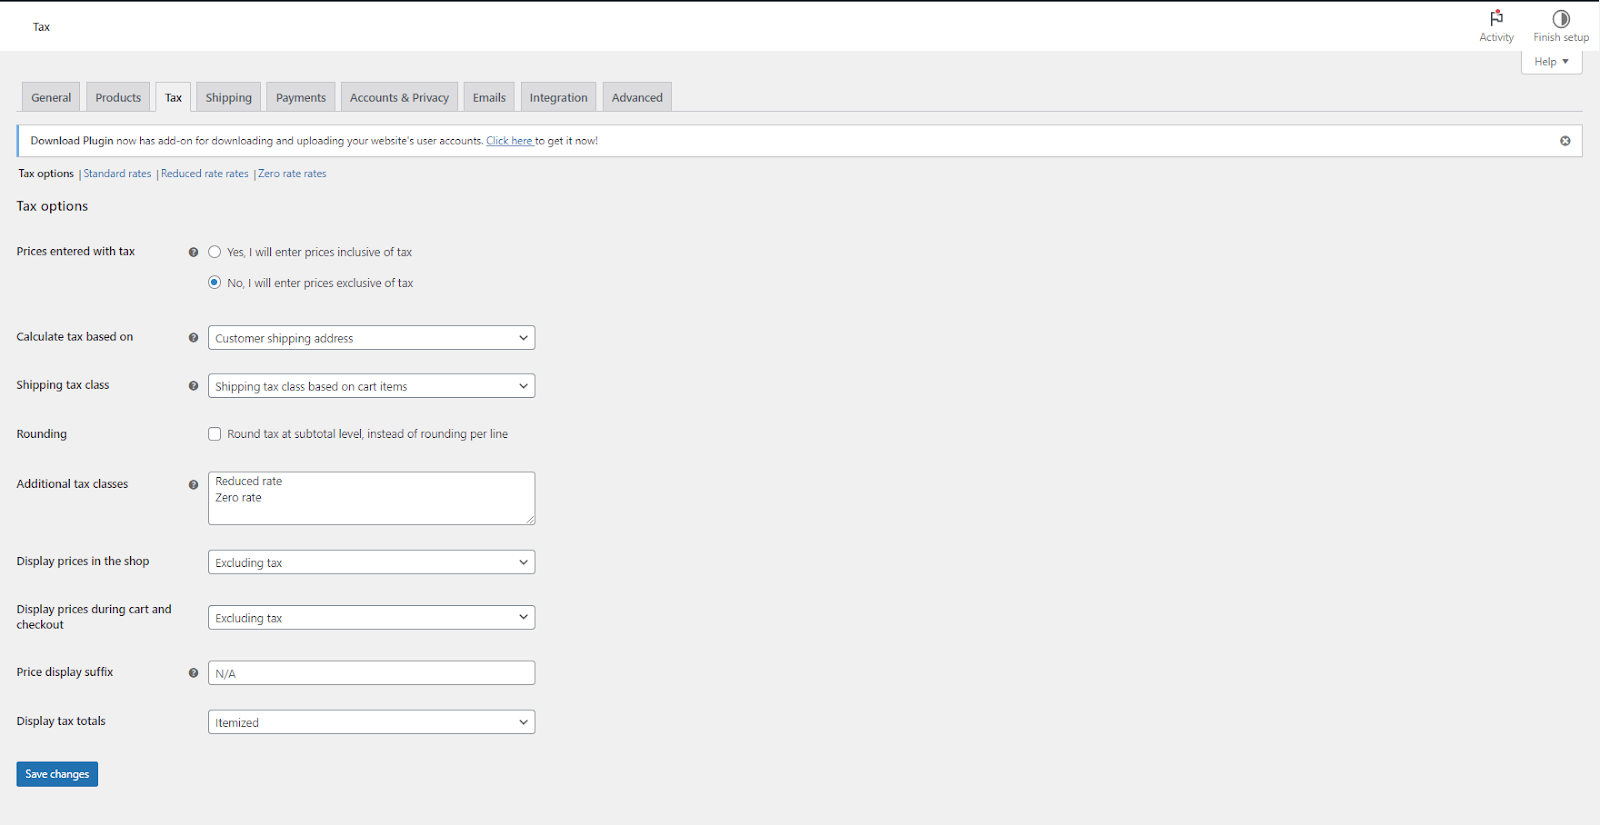
You can also choose whether a tax in a region is used instead of a federal tax, is added to a federal tax, or is compounded with a federal tax. If you’re not sure which setting to choose, then contact your tax authority.
Creating product pages
The best way to create product pages on WordPress using WooCommerce is to go to WooCommerce > Products > Add Product. This will open a familiar interface where you can enter a product Title and Description.
You can also assign product categories, tags, and attributes. Once you have finished creating the product, click on the Publish button in the bottom left corner of the Elementor interface.
You can also customize your WooCommerce product page by using Elementor. To do this, go to Templates and click on Add New. From the list, select Single Product.
Elementor will show some ready-made WooCommerce product pages templates that you can start with. Picking one that looks the closest to what you want is the best path to take for most users.
To view your WordPress Product Catalog, visit your WooCommerce shop page, which is usually located at a URL like this: [yourdomain]/shop/. You can also use a shortcode to display your products on any page or post.

All you have to do is create a new WordPress page or edit an existing one, and add the following shortcode in the content area: products columns=”4″ limit=”8″ paginate=”true”.
Securing Your Digital Products

One of the biggest concerns for digital product sellers is the risk of piracy or theft. Fortunately, there are several strategies you can use to protect your products and prevent unauthorized access or distribution.
Protecting your products with passwords
First and foremost, password protection is a simple but effective way to secure your digital products. You can require customers to enter a password to access your products or restrict access to specific user accounts. This ensures that only authorized users can access your content.
Adding watermarks to your products
Another effective strategy is adding watermarks to your products. Watermarks are subtle marks or logos that are added to your content, making it more difficult for unauthorized users to steal or distribute your products. This not only protects your products but also acts as a deterrent for potential thieves.
Limiting download attempts
Limiting download attempts is another effective way to protect your products. By setting a limit on the number of times a customer can download your products, you can prevent them from sharing the files with others or making unauthorized copies.
Using encryption and digital rights management
Finally, encryption and digital rights management (DRM) can provide an additional layer of protection for your digital products. Encryption involves encoding your files so that they can only be accessed with a decryption key, while DRM restricts access to your content based on specific usage rights.
By using these strategies, you can protect your digital products from theft and piracy, ensuring that you get the revenue and recognition you deserve for your hard work.
Optimizing Your Store for Sales

Congratulations, you’ve set up your online store with WooCommerce, but are you converting visitors into customers? Are they exiting your store without making a purchase? Fear not, as we take you through the essential best practices for optimizing your store for conversions.
Best practices for optimizing your store for conversions
When it comes to optimizing your store for conversions, there are a few best practices that can help you turn browsers into buyers. These practices include making your website easy to navigate, improving your website speed, highlighting your value proposition, optimizing your product descriptions and images, using social proof to your advantage, and creating a sense of urgency. Let’s dive into these practices in more detail:
Make your website easy to navigate
A cluttered and confusing website can turn potential customers away. Make sure your website is easy to navigate with clear and concise menus and categories. Use a simple and intuitive layout that allows customers to find what they’re looking for quickly and easily.
Improve your website speed
Website speed is crucial when it comes to optimizing for conversions. A slow website can lead to a high bounce rate and lower search engine rankings. Use tools like Google’s PageSpeed Insights to test your website’s speed and optimize it for faster load times.
Highlight your value proposition
Your value proposition is what sets you apart from your competitors. Make sure you highlight your value proposition on your website in a clear and compelling way. This will help customers understand why they should buy from you and not your competitors.
Optimize your product descriptions and images
Your product descriptions and images are the only way customers can evaluate your products online. Optimize your product descriptions with relevant and descriptive information, and make sure your images are high-quality and show your products from different angles.
Use social proof to your advantage
Social proof can help build trust and credibility with potential customers. Use customer reviews, ratings, and testimonials to showcase how others have benefited from your products. This will help customers feel more confident in their purchasing decisions.
Create a sense of urgency
Creating a sense of urgency can help push customers to make a purchase. Use phrases like “Limited time offer” or “Only 3 left in stock” to create a sense of scarcity and encourage customers to act fast.
How To Track And Analyze Store Performance
You need to know how your store is performing to be able to improve it. Tracking store performance will enable you to analyze what’s working and what’s not, and adjust accordingly. Google Analytics is a great tool for tracking sales and traffic, and also enables you to create goals and funnels for specific metrics.
Creating A Customer-Centric Store Experience
Think about what your customers want and need from your store. Is your store user-friendly? Are your product descriptions clear and detailed? Do you offer multiple payment options? Make sure you’re catering to your customer’s needs and providing them with a seamless shopping experience.
Implementing Customer Feedback
Listening to your customers and implementing their feedback is key to improving your store. Encourage customers to leave reviews, and respond to both positive and negative feedback. This not only shows that you value their opinion but also helps build trust and credibility.
Managing orders and customers

Now that your store is all set, you may need to view and manage orders. Let us cover three important tasks that you may be required to perform as a store owner.
Viewing and managing orders
To keep track of and handle orders in WooCommerce, you’ll need to log in to your WordPress dashboard and head on over to the WooCommerce tab. From there, click on Orders, and voila! You’ll be able to see a comprehensive list of all orders made on your website.
To get more information about a specific order, click on the order number or hover over the order and click on the “Edit” text. If you’re just looking for a sneak peek, you can click on the eye icon next to the date column to preview the order.
If you need to create a new order, go to WooCommerce > Orders on your WordPress admin page. Then, fill in the General, Billing, and/or Shipping information to add the new order. For managing existing orders that are still in the Pending Payment stage and haven’t been paid yet, go to WooCommerce > Orders.
It’s worth noting that each order in WooCommerce has a status that indicates its current state. To see the status, hover over the icon in the Status column. The different statuses you may come across include: Pending Payment, Processing, On Hold, Completed, Cancelled, and Refunded.
Managing customer information
WooCommerce comes equipped with some handy tools that allow store owners to manage their customers with ease. You can even personalize your customers’ my account page by adding important information, custom endpoints, or editing/removing default endpoints.
Additionally, you can access customer reports and make adjustments to their billing or shipping information, modify the date/time associated with an order, and preview orders to double-check the accuracy of billing and shipping information.
Of course, there are plenty of WooCommerce plugins out there that can assist you with this task as well. As a shop owner, you may want to come up with innovative methods to work with your buyers and maintain customer information for future business endeavors. That’s why it’s imperative to choose a plugin that matches your specific requirements.
Handling refunds and returns
When it comes to issuing refunds on WooCommerce, you have two options: automatic or manual. With an automatic refund, the WooCommerce order status is updated, and the charge is reversed, allowing the customer to receive their money back quickly.
On the other hand, with a manual refund, the WooCommerce order status is also updated, but you’ll need to return the money to your customer manually.
To process an automatic refund, head on over to WooCommerce > Orders, select the order that needs a refund, go to the order summary, and click on “Refund.” From there, you can specify the quantity of products to be refunded in the text boxes provided for each line item. The refund amount will adjust automatically based on the products refunded.
If you need to request a refund for an extension subscription, head to WooCommerce.com > Account > Orders, select the order number of the product you want to refund, and choose “Request a Refund.”
And if you’re looking to initiate a refund for an In-Person Payments card reader, keep in mind that WooCommerce offers a 30-day refund policy upon purchase. Just reach out to WooCommerce Support to get the process started.
Promoting Your Digital Products

Now that you’ve optimized your online store for sales, it’s time to promote your digital products and let the world know about them. To do this, you’ll need to create a marketing strategy that includes using social media, optimizing your product pages for search engines, creating and running effective ads, and creating targeted email campaigns. Let’s explore each of these strategies in more detail:
Creating a marketing strategy
Before you start promoting your products, you need to have a plan. Create a marketing strategy that outlines your target audience, key messages, and marketing tactics. This will help you stay focused and ensure that you’re reaching the right audience with the right message.
Using social media to promote your products
Social media is a great way to promote your products and engage with your audience. Choose the social media platforms that your target audience uses the most and create a content calendar that includes a mix of product promotions, informative content, and engaging visuals.
Optimizing your product pages for search engines
Optimizing your product pages for search engines can help you attract more organic traffic to your store. Use keyword research to find the right keywords to target and optimize your product titles, descriptions, and images accordingly. Don’t forget to include alt text for your images and meta descriptions for your pages.
Creating and running effective ads
Paid advertising can help you reach a larger audience and drive more sales. Use platforms like Google Ads and Facebook Ads to create targeted ads that speak directly to your audience’s pain points and offer solutions to their problems.
Creating targeted email campaigns
Email marketing is a great way to keep in touch with your customers and promote your products. Create targeted email campaigns that speak directly to your customers’ interests and needs. Use engaging subject lines, personalized messaging, and clear calls to action to encourage conversions.
Advanced Techniques for Digital Product Sales

Now that you’ve got the basics of selling digital products with WooCommerce down, it’s time to take things to the next level with some advanced techniques. These strategies will help you boost your sales, increase your revenue, and take your digital product business to new heights.
Cross-Selling And Upselling
First up, cross-selling and upselling. These tactics involve offering your customers complementary products that enhance the value of their original purchase. For example, if you sell an online course, you might offer a downloadable e-book or a workbook that complements the course material. By using these strategies, you’ll not only increase your sales but also create a more valuable experience for your customers.
Product Bundles
Next, let’s talk about product bundles. Bundling allows you to package multiple products together at a discounted price, making it an attractive option for customers looking for a deal. It’s also an excellent way to promote your entire product line and increase your overall revenue.
Implementing An Affiliate Program
Another advanced technique for selling digital products is implementing an affiliate program. This involves recruiting affiliates who promote your products and earn a commission on each sale they generate. It’s a win-win situation, as you get more exposure and sales, while your affiliates earn a commission for their efforts.
Innovation
Finally, to expand your digital product line, you need to keep innovating and adding new products to your store. Take the time to research your target audience’s needs and create products that cater to their specific interests. This will keep your store fresh and exciting, attracting new customers and keeping your existing ones engaged.
By using these advanced techniques, you can take your digital product sales to new heights. So, what are you waiting for? Start implementing these strategies and watch your sales soar!
Final Thoughts
It may seem daunting at first, but with the right approach, you can turn your digital products into a profitable business using WooCommerce.
Remember, it’s all about optimizing your online store for sales and promoting your products to your target audience.
And the best part? You don’t have to do it alone. There are plenty of resources available to help you along the way. From online tutorials to plugins and extensions, the WooCommerce community is always willing to lend a helping hand.
So what are you waiting for? Get out there and start selling your digital products with WooCommerce. With a little bit of hard work and determination, you’ll be on your way to becoming a digital sales hero in no time!